Archives for category: pie
Painting shows ingredients for turkey-apple stew, plus a border collie.

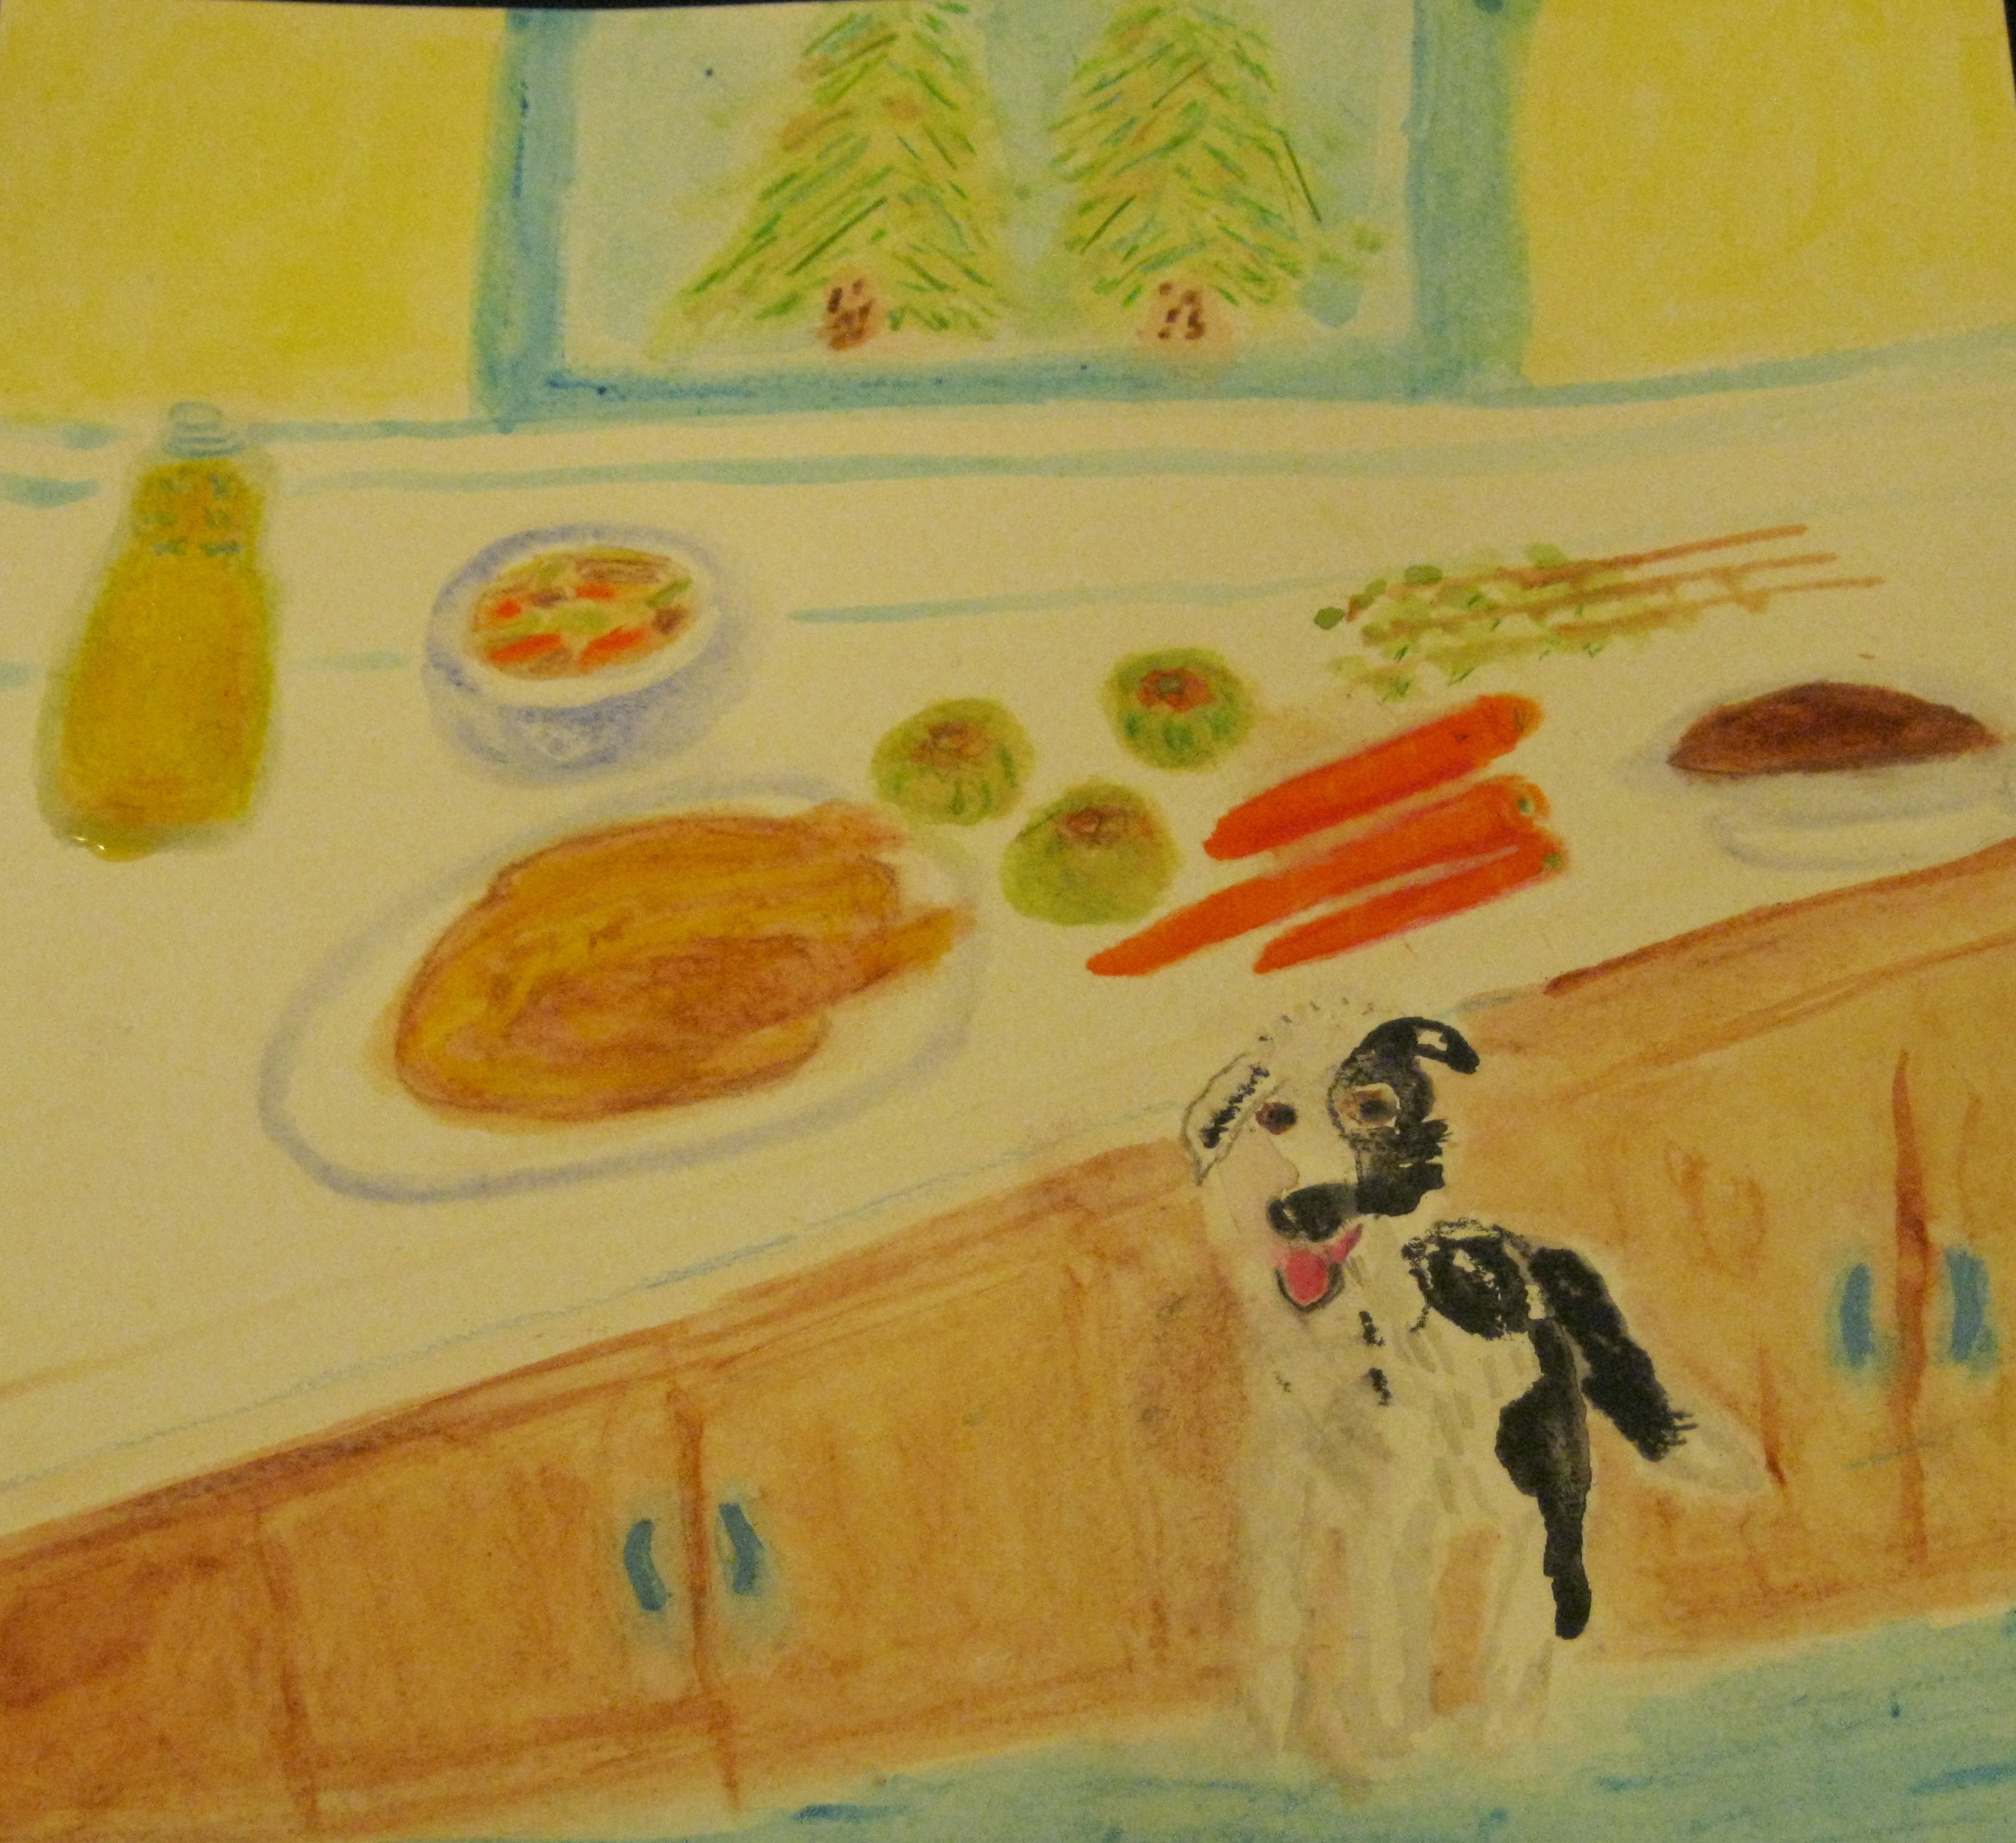
Turkey-Apple Stew. 12″ x 12″ gouache and watercolor pencil. Sharyn Dimmick

Thanksgiving Day found me with my family in the house where I grew up, preparing traditional Thanksgiving dishes with my mother. At eighty-three Mom still does the heavy lifting, so to speak: she makes the dressing, stuffs it into the turkey. She makes her never-fail pie crust, which we fill with pumpkin, eggs, evaporated milk, brown and white sugars and spices and with sliced Pippin apples (The Gravensteins are long gone by Thanksgiving Day). I make rolls from my Grandmother’s recipe, only pausing to sneak a half cup of healthy whole wheat flour into the dough. Wednesday afternoon we peel potatoes and snap the ends off fresh green beans from the Bay Fair Farmers’ Market and boil and peel chestnuts for the dressing, cook whole cranberries with a little sugar and water. Thursday afternoon I make salad dressing and whip cream while Mom prepares a simple brown gravy from pan drippings, flour and water. We roast yams in the oven after the pies come out, cook the green beans in the microwave and the potatoes on the stove. I scoop the dressing from the bird. Bryan carves the turkey and lays slices on a platter.

Original watercolor painting shows ingredients for apple pie

Gravenstein Apple Pie. 8″ x 8″ gouache and watercolor pencil. Sharyn Dimmick.

At two o’clock we sit down to a bountiful table, the three remaining Dimmicks and our guests Johnny Harper and Art Peterson, who will play music in the living room after they have eaten their fill. This year I am struck by how long this has been our family tradition, how many years Mom and I have made this meal together, dividing our tasks and cooperating to get the food on the table in a timely fashion. We do have skirmishes: I am a careful baker, sifting the flour into a cup on a flat surface, heaping it high and leveling it off with my hand, but I find that I cannot sift easily with my recovering wrist. When I ask Mom to sift, she holds the cup in the air, occasionally shaking it to settle the contents, and hands me cups that I don’t think are full enough to level. We laugh about this later, after I have told her how much I like making this meal with her every year. We are the last two generations of our family and we do not know how much longer we will get to do this together. I enjoy the simplicity of a day spent preparing a feast and the routines we have developed.

The day after the holiday finds me with many fall tasks undone, due to a thirteen-week hiatus with a compromised right hand. My winter sweaters need hand-washing. It is time to start making cookies for Christmas and for an early Chanukah party. Add to my schedule three hours of hand and wrist exercises per day and I wonder, like many of you, how I will ever get everything done. The only answers I can come up with are to keep it simple and to just do the next task, to jettison things that seem too much for this year, as I work to transform my injured hand and wrist to new strength and health.

At the same time as I celebrate old family traditions, a new opportunity has arrived: my friends Maia Duerr of Liberated Life Project and Lauren Ayer of Quilts of Change have put together a Virtual Holiday Faire for 2013, where you can purchase my Paris CD and two original watercolor paintings, plus notecards, quilted bags, coaching services and other offerings. Please visit the Faire to have a look for yourself. Your purchase will help support independent artists and consultants.

Last, but not least, Susan of Susan Eats London, kindly sent me a care package to raise my spirits: she went to her favorite bulk bins and picked out aleppo pepper, dukkah, farro, Puy lentils and Nigella seeds, none of which I have ever used, plus blue cornmeal, fresh fig jam and three kinds of chocolate! I shall be having some cooking adventures in the future. If any of you want to provide suggestions or links for using these ingredients, the Comments field is open. I am thankful for all who enjoy reading The Kale Chronicles and grateful that my hand will allow me to type a blog post for you.

Advertisement
Painting shows pear tart tatin and ingredients.

Pear Tart Tatin. 12″ x 12″ gouache. Sharyn Dimmick.

I had a music potluck to go to yesterday. I started thinking Friday night about what I would make: it came down to orange pound cake made with orange juice and zest, a repeat of the St. Patrick’s Day knishes sans Canadian bacon in deference to vegetarian singers, or a pear tart tatin. Those of you who read about our grocery finds a few posts ago will recall that I bought three pounds of Bosc pears. I have roasted pears to eat as dessert and I have included roasted pears in a few winter soups, but I had never before made a tart tatin. I was somewhat swayed by the thought that I had one pie crust waiting in the fridge. I was also swayed by the fact that I greatly prefer pie to cake and I love fruit desserts.

As it turned out, the pie crust in the fridge was a little too crumbly and a little too small and I ended up making a whole new batch: now we have old leftover crust and new leftover crust. Oh well: making and eating things with pie crust does not trouble us in this household.

While I used my Mom’s never-fail pie crust recipe for the tart tatin, I used the method and ingredients for the most part described in Chez Panisse Desserts, with one change, two additions and one error, which may have proved beneficial.

Alice Waters and Lindsey Sher give the ingredients as one 10-inch circle of pie dough or puff pastry, 1/2 cup sugar, 2 Tbsp unsalted butter, about 5 medium Bosc or Winter Neli pears and an optional tablespoon of rum, Cognac, brandy or Armagnac. I used salted butter, eight small Bosc pears, and rum. I added 1/2 Tbsp of vanilla extract and a sprinkling of ginger. Waters and Sher say to bake the tart at 400 degrees, which I would have done, except, despite reading the recipe, I had set my oven at 350.

If you don’t have pie crust on hand, you’ll have to make that first. You will find my Mom’s recipe here. If you make it, you will have three more crusts, or at least two and a half because Mom’s recipe makes four crusts (It is hard to make less with her recipe because it calls for a whole egg).

Once you have gotten your pie crust made, set it to chill in the refrigerator while you prepare the other ingredients. It’s up to you whether you want to peel and core pears first or make caramel first. At any rate, you will be peeling and coring pears. You can use halves or quarters in the tart. I used halves, which looked quite nice. I put the tablespoon of rum and the half-tablespoon of vanilla in the bowl with the peeled, halved pears.

I then got out a cast iron skillet and set it on medium heat. I added the butter and sugar to the skillet and stirred with a wooden spoon until the caramel turned light brown, at which time I removed the pan from the heat and continued to stir. The caramel continues to darken: you keep stirring it so that it turns evenly instead of darkening in any hot spots. Mine came out a lovely, reddish brown.

Place the pears in the caramel in a circle with the narrow ends pointing to the center. I had a small, pear-less circle in the center, which I filled by cutting the last pear into smaller pieces. I put my pears cut-side down, although Alice and Lindsey say to put the rounded side down. You are going to flip this dessert over after it is baked, so, whichever way you do it, it is going to come out the opposite. My brain does not like to think in reversals (it gets confused). Do what you like. When you have got your pears looking all pretty and symmetrical, you are going to put the pastry over the top. Before I did this, I poured the leftover vanilla-rum mixture over the pears and sprinkled them with perhaps 1 tsp powdered ginger. I folded the crust in quarters, then unfolded it over the fruit, tucking the edges down into the sides of the pan since this crust will end up being the tart base. I also, as instructed, pushed the dough gently into the pears — it forms a slight wave pattern, molding around the curves of the pears. Cut a few slits in the crust and transfer the tart to your hot (or not so hot) oven.

I checked my tart after 30 minutes — that’s when I discovered my temperature error: plenty of browned juices bubbled up, but the crust was not brown. I cranked the oven up to 400 and let the tart bake for another 20 minutes until the crust was properly browned. My error with the oven temperature may have caused deeper caramelization of the fruit, which I happen to like, and had no ill effects on the caramel or the crust, save needing extra time for browning.

When the crust has browned to your satisfaction, remove the tart from the oven and let it sit for a few minutes — the pan will be really hot. When you are ready for the next step, take a plate larger than your skillet, place the plate on top of the pan and carefully invert the skillet onto the plate. With any luck, your tart will come out whole. If a pear or two get left behind, just use a spoon to transfer them back to their place on the tart. If you have lost a bit of crust, you will have the pleasure of sampling the caramel-infused crust: the caramel layer transforms basic pie crust into a new delight.

Mom dug out the top of a popsicle mold, which we plopped in the center of the tart to hold the wrappings away from the fruit. I wrapped the tart in two layers of aluminum foil and carted it off on the bus in the rain to my friend Elaine’s house. The singers consumed every scrap of the tart. Toni had three pieces. Elaine, who does not like Bosc pears, had two. Elaine said she would like the tart made with stone fruit. I said I thought it might be delicious with fresh figs. We have to wait for those fruits, but some pears are in season now. I was pleased with how easy it was to make a dessert that had intimidated me (the caramel, the flipping, the careful arrangement of the fruit, would the crust withstand the weight of the tart and all of that caramel? Would it leak?). Trust me, friends — if I can do it, you can do it.

Food Notes: If you are afraid of pie crust, you can also make this with frozen puff pastry. I recommend, however, that you visit your nearest crust expert to overcome this fear. Most pie bakers would be glad to help you learn to make pie crust.

“Live in each season as it passes; breathe the air, drink the drink, taste the fruit, and resign yourself to the influences of each.”
Henry David Thoreau

and if that means 15 kinds of citrus meals, so be it.
Suzanne Edminster at Saltworkstudio
http://saltworkstudio.wordpress.com
Ms. Edminster is my best friend and kindly sent me the Thoreau quote this afternoon for the blog. To me the quote and her comment capture the essence of seasonal cooking: things never taste fresher or more lovely than in their true season and we are wise to eat them then and let them pass for the rest of the year as the calendar and the fields move on to new delights. We may, like Greg Brown’s grandmother, put the summer in jars, if we have the skill, and be able to taste raspberries on our toast in February (to my mind preferable to any red velvet dessert). Or we may make do with frozen berries and store-bought jam and wait for each season to come round again. And while there are delightful days for seasonal cooks when we buy our favorite things at the market or get our favorites in our CSA there are also the days when we say, “Oh, God. Another bunch of kale. Another four pounds of tangerines. What am I going to do with ten leeks and four celery roots?” A cleverer person than I called this “vegetable triage.” Most of us seasonal cooks are dedicated to this way of eating and living and will eventually grumble and take up the challenge.
Painting depicts partial Shaker Lemon Pie in front of a Meyer lemon tree.

Meyer Lemon Pie. 12″ x 12″ watercolor pencil, watercolor and gouache. Sharyn Dimmick

Debra of Three Well Beings wondered if I needed an assignment to get me going again on blogging about seasonal food. She asked if I had any more lemon recipes. Well, there is one lemon recipe I have been wanting to try ever since hearing about it: Shaker lemon pie, a pie of thinly-sliced lemons marinated in sugar overnight before being mixed with eggs, butter and flour and baked in a two-crust pie. You heard me right: two crusts. Every other lemon pie I make is a one-crust affair and even though I am temporarily out of unbleached flour I have pie crust in my refrigerator because we always make four crusts at a time. You can find my mother’s pie crust recipe here, if you need a recipe.

You can’t get any more local than going outside the front door to pick Meyer lemons off your own tree. Our tree is organic, too, meaning we give it very little: coffee grounds, tea leaves, water and a little copper now and then. Mom has been pruning it relentlessly to try to get it to bear its fruit high above the ground, hoping that snails all have fear of heights, so it is not the most prolific lemon tree on the block, but it had enough lemons for the pie (the recipe I used called for two, but that looked so pitiful in my glass bowl that I went out and picked a third to add to it).

I brought the lemons back inside, rinsed them and dried them. Before I even went to the kitchen or the yard I Googled a recommended recipe and tried to find out how to slice lemons “paper-thin.” No luck. Considering that recent tests put me in the first and fifteenth percentile for manual dexterity (that means either ninety-nine or eighty-five percent of people tested are more dextrous than I am), I recognized that thin rounds might be a problem. I have neither the patience nor the experience of Shaker women who have made this pie many times, although I share their desire to cook frugally.

First I tried a thin-bladed serrated knife. I worked slowly and held the lemon firmly. I even sliced off a slab on one side so that the lemon would sit flat on the cutting board. Try as I might I could not get those tissue-thin perfect slices. Next, I got out the mandoline. The mandoline sliced through the pith and tore the lemon flesh. Not good. Finally, I took up a sharp steak knife and slowly, carefully, tried to cut see-through slices. I got a few. The closer you get to the far end of a lemon, the harder it is to hold it steady. I need a lemon vice. The only thing I didn’t try was the meat slicer.

Because I was using whole lemons, minus only the seeds, I put in the entire two cups of sugar the recipe called for: lemon pith is bitter and I did not want a bitter pie: tart, yes, bitter, no. And I followed the recipe for filling that my friend Carol uses, purloined from the online version of Joy of Cooking because I had never made this pie before.

I put the lemons to marinate in a clear glass bowl in the refrigerator, placing a china plate on top to seal the bowl (I am one of those people who feels bad when I use plastic wrap and I love finding ways around it). Then yesterday we went out and bought the flour we needed to finish the pie during our weekly grocery-shopping rounds.

First I rolled out the bottom crust and put the oven on to preheat at 425. Then I whisked 4 large eggs in a mixing bowl and added 3 Tbsp flour. Why didn’t I whisk an egg slowly into the flour and avoid lumps? Because sometimes I don’t think, that’s why, but you can do it that way. Then I melted 1/4 cup unsalted butter in the microwave and had to let it cool. Why didn’t I melt the butter first before beating the eggs? See above answer. I don’t often use mise en place, although quite often I should.

Anyway, with a lot of whisking I got a fairly smooth mixture, then added the lemon-sugar mixture and whisked again. I poured it into my prepared pie shell and rolled out a top crust, pinched the edges together and put the pie into the oven. This is one of those stay in the kitchen (or use a timer) recipes because you need to turn the oven down to 350 after 25 minutes. It might be a good idea to turn it down a little sooner or start it at 400 — my crust browned awfully fast. The filling turned a jammy, deep golden color, reminiscent of the color of the ripe Meyer lemons themselves.

Madge, the pie critic, commented that it was a little bitter. She’s right — it has a slightly bitter edge like a mild marmalade does because you use the whole lemon. I don’t mind it. It has deep lemon flavor. And her comment did not stop her from having another piece at lunch today. If you need a pie that is all sweetness and light, this is not your pie, can’t be your pie. If you love all lemon desserts all the time, make it and see what you think.

painting shows a single red shoe.

One Red Shoe. 8″ x 8″ gouache and watercolor pencil. Sharyn Dimmick.

Okay, so what’s this about the red shoe? Not in the pie, silly. Cecilia of TheKitchensGarden kindly awarded me the Educational Shoe Award, given to blogs that teach, because I preach the gospel of seasonal cooking and because I chime in with helpful hints on other food blogs when I think something I say might be helpful. It came with a high-heeled red shoe. I am grateful to Cecilia for honoring me and my two cents worth: she lives on a farm, raising animals and bees and crops, preserving her own bounty and wishing us cheery good mornings from her Illinois homestead. She also writes and coaches us on how to take better photos. I am also grateful to her for giving me the opportunity to paint red shoes. Turns out I own and have owned several red shoes, but this is the first red shoe that came to mind, a little flat number because I can’t walk in high heels. I will pass on the award in a future post after I have had time to study some potential recipients and think on it.

Food notes: You need the sugar in this pie — all of it: you need it to transform the bitter pith. I can’t recommend experiments or substitutions because this is the first time I have made this pie, although I can confess to wondering if I could make it with thin-skinned Valencia oranges, or a mixture of oranges and lemons. The official recipe says “thin-skinned lemons” (Meyers are perfect). You need thin-skinned varieties because they have less pith.

painting of sour cherry pie, cherry syrup and ingredients

Sour Cherry Pie (Detail) 12″ x 12″ gouache and watercolor paper. Sharyn Dimmick

How can cherries be a part of seasonal cooking in November when I don’t live in Australia? When the weather turns cold we turn to preserved foods. We still have apples on our backyard apple tree, but Mom asked me to roast a pork loin and some squash while she and my sister-in-law Barbara scrubbed and taped walls for painting (I know I got the better part of this division of labor). Because I am supposedly getting ready for a week away, I wanted an easy pie with no peeling and paring, no slicing, so I went for the canned cherries in the garage. These are pitted sour cherries canned in juice. Mom had made crust earlier in the week, so it was pie time again. And while I’m at it, I’ll just say that I have made fresh sour cherry pie from some sour cherries I scored at the Ferry Plaza market in San Francisco and — drum roll — we prefer pie made with canned sour cherries.

Here is how to make cherry pie — my cherry pie.

Make the crust first. If you make Madge’s recipe, you will have enough crust for two cherry pies, so you can pit my cherry pie against your favorite recipe, double the filling recipe and make two cherry pies from this recipe or save the extra crust for quiche or apple pie. Our recipe is handy at Thanksgiving and Christmas when you are baking lots of of pies, but. truth to tell, pie is never a problem here: we’ll eat it for breakfast, dinner, lunch and tea.

Once again, the no-rant version* of pie crust for your convenience:

Cut 1 cup of vegetable shortening plus 2 Tbsp of butter into 3 cups of unbleached flour and 1 tsp salt  until the mixture resembles small peas. Do not overwork the dough — you want to see streaks of fat in the raw dough: they will melt while baking and create flaky crust. If you use salted butter, you can reduce the salt to 1/4 tsp.

Into a 1-cup liquid measuring cup, break 1 large egg. Beat egg with fork until blended.

Add 1 Tbsp cider vinegar to egg and stir. Then add water until combined liquids measure 1/2 cup, plus a little more.

Add liquids to shortening and flour and work just until combined. Pat dough into a flattened circle. If you are a novice pie baker, you may want to wrap the dough in waxed paper and chill it for awhile. The intrepid and experienced can divide the dough in half and proceed by cutting one half-circle in half again — this recipe makes four crusts, so half of it will give you the crust for your two-crust cherry pie.

Roll crust out on a floured work surface with a floured rolling pin. Roll firmly but lightly, being sure to roll all the way to the edges — you want the crust thin, but you don’t want to press it down and make it stick. You’ll figure it out — it’s not that hard. Try your best to keep the crust circular. Measure the crust by setting your pie plate on top of it, allowing for enough crust to cover the sides. Fold rolled crust into quarters to pick it up and unfold it again in your pie tin.

Now you have an aesthetic choice to make. For that classic lattice cherry pie you can roll your next quarter of crust into another circle and cut the crust into long strips, which you will lay crosswise over the filling later. If you don’t have the inclination to build a lattice, just take your circle and fold it into quarters, leaving it for the top crust later.

Go and preheat your oven to 375 degrees if using a Pyrex pie plate. If you use metal, you can start the pie at 400, but be on hand to turn it down after ten or fifteen minutes.

Now the filling:

Mix 1/4 cup cornstarch and scant 3/4 cup sugar in a dry saucepan. Whisk until blended.

Open 2 cans of sour cherries packed in water (Do not use cherry pie filling, which belongs on The Horror Roll). Drain the juice from the cherries into a 2-cup measuring cup — you will have about 1 and 1/3 cups. Leave the drained cherries in the cans for now.

Whisk 1/3 cup cherry juice into the cornstarch and sugar and stir with whisk until thickened over medium heat. The first sign that the cornstarch is working is the appearance of little shapes that look like ragged skin. If you don’t care for the pale pink color add the secret ingredient, red food coloring, drop by drop until you get a hue you like — I particularly recommend this option if you are going the lattice crust route or planning to take photos of your pie. When the mixture is thick and glossy add the reserved cherries, remove from heat and stir in

1 Tbsp butter and

a grating of fresh nutmeg

Pour the filling into your prepared pie shell and weave your lattice strips over the top, or plonk your unfolded top crust over the filling and make an attractive pattern of knife slashes for vents. Do not wash your saucepan yet! Place pie in oven. Bake for about 50 minutes or until crust is nicely browned and filling is bubbling.

Now, remember that other cup of cherry juice sitting in your measuring cup? You can drink it if you want to, which Mom does sometimes, but this is what I do with it: put it in your saucepan. Add some sugar — more than a Tablespoon, less than a cup. Turn the burner back on and boil it down until thickened — you want it to coat the spoon and be bubbly and shiny. Decant carefully into a glass jar (pour along a spoon or a knife if you are nervous — the metal absorbs some of the heat). Let cool and then refrigerate. This will keep indefinitely in a cold refrigerator. It is delicious on cornmeal pancakes, stirred into your morning oatmeal, over ice cream, with lemon pound cake …. You can also add some cream and cook it into cherry caramel — you’ll never drain cherries over the sink or throw out cherry juice again!

Let your pie cool while you eat dinner or make tea (at least fifteen or twenty minutes — the hotter the pie when you cut it, the more likely the filling is to run. We don’t care a whole lot about this, but for a prettier pie give it some cooling time).

Serve plain or a la mode.

*For the full rant on pie crust, please visit Gravenstein Apple Pie.

Food notes: For the full flavor benefit you must make this with sour cherries packed in water and scant the sugar as I do. For those of you stateside, canned sour pie cherries show up infrequently at Canned Foods Grocery Outlet — aka “Half Foods.” Some cherry pie recipes call for lemon — that will not be necessary with this pie. Please do not make it with sweet cherries (Bings, Burlats, etc.) — sour cherries have a different flavor, the ideal flavor for cherry pie in my opinion. Try them and see. If you are out of cornstarch, you can substitute flour: if you use flour, your filling will be cloudy rather than clear, but it will taste equally good.

On Kale: When I wasn’t making cherry pie, baking acorn squash with hot mustard, honey, lime and black pepper, roasting the squash seeds or boiling down cherry syrup I finally tried my friend Cathy’s version of kale with fresh walnuts and homemade raisins. The verdict at the table? “It’s still kale.” Back to the tasting laboratory…

I’ll be away for eight days starting Sunday sans electronic devices with which to entertain you or read and respond to your comments. Please make comments anyway if you are so moved. I’ll be back to coach you through your cherry pie crises well before the run up to Thanksgiving. I’ll also instruct the robot to give you a post to read on Wednesday while I am gone. Au revoir, dear readers. I’ll be back in person November 14 with stories to tell and perhaps a new recipe or two.

painting of lemon pie and blue teapot

Lemon Sponge Pie, 8″ x 8″, gouache and watercolor pencil. Sharyn Dimmick

My late older brother ate pretty much the opposite of what I eat. He ate a lot of fast food, quick food and processed food. He drank mugs of coffee laced with up to a quarter cup of sugar, minus what he spilled on the counter. He liked raw carrots and celery and fresh strawberries, but he only ate those things if someone else washed them, cut them up and put them in a bowl for him, preferably on the counter where he could see it. The only other vegetable he consumed regularly was onions, although he once ate seven jars of marinated artichokes out of the case Mom gave him on Christmas Day. In the fruit category he liked raisins, strawberry milk and blueberry pie.

In the last year of his life, Kevin had an experience that improved his diet slightly. He liked to tell the story. His then girlfriend, Barbara, who would become his wife, had a cat named Jigs. Jigs looked forward to Kevin’s visits because he nearly always brought bags of fast food with him. One day Kevin arrived with a McDonald’s bag, containing a cheeseburger and an order of Chicken McNuggets. Kevin broke  open a McNugget and gave it to Jigs. Jigs sniffed it, immediately commenced to try to bury it and walked away, insulted. Kevin said, when he told the story, that if a cat wouldn’t eat something that was supposed to be chicken he wasn’t going to eat it anymore either.

Michael Pollan has famously given us the guideline not to eat anything your grandmother wouldn’t recognize as food. We hew pretty closely to that in our household these days, although we each have our indulgences: we buy Prego spaghetti sauce because Mom made her own for years and we can honestly say we like Prego better. I particularly like the Italian sausage flavor. We use it for quick suppers. Sometimes I add fresh summer squash or mushrooms or eggplant to the sauce, but sometimes I don’t. Beyond that, my personal weaknesses are for Cheez-It crackers and Golden Grahams cereal. I know I can make cheese straws, but I love Cheez-Its  right out of the box. I don’t buy them often. Golden Grahams are even less defensible — they are tooth-achingly sweet and taste like candy: to be able to eat them at all, I mix them half and half with some healthier cereal — anything not sweetened — and eat them with almonds. I allow myself about one box a year, on sale only.

To me, scary food does not mean food that appears to be dripping blood or cupcakes accented with spiders: scary food means food that has been so processed that it does not resemble the original food it came from.  An order of Chicken McNuggets is a good example, but so is anything labeled “cheese food” or  “pasteurized processed cheese,” as well as white bread from the grocery store. There are many more examples: please feel free to tell me about your personal food horrors in the Comments. Perhaps I’ll put up a link called “The Horror Roll” and list some of your candidates there.

Halloween was Kevin’s birthday. There is nothing he liked that I cook on a regular basis and if I shared one of his “recipes” you would stop reading this blog. Seriously. Instead, I’ll share with you a favorite family recipe that my mother made yesterday with ripe Meyer lemons from our neighbor’s tree and her famous Swedish pie crust. For your convenience, I’ll give you the pie crust recipe below, but I’ll spare you the editorial commentary: for the full rant on pie crust, please visit the Gravenstein Apple Pie post. Meanwhile, get ready to make a Lemon Sponge Pie, which is much like a lemon meringue pie, except that you fold the egg whites into a lemon custard, which includes milk. If you like lemon desserts, you will want to try this.

Make the crust first:

Sift 3 cups unbleached flour with

1 tsp salt

Cut in 1 cup Crisco (or other vegetable shortening) until it is the size of peas. Add a little butter (1-2 Tbsp for flavor).

Break into a one cup measuring cup:

1 large egg. Beat it until blended.

Add to egg:

1 Tbsp white or cider vinegar

Add water until combined liquids reach 1/2 cup, plus a little.

Add liquids to flour, salt, shortening and butter. Stir together crust and form it into a flattened round. Cut 1/4  from the round — this is your crust for this lemon pie. Wrap the other 3/4 crust in waxed paper and store it in the refrigerator for your next pie or quiche (Crust recipe makes 4 single crusts or 2 double-crust pies).

Pat pie crust into a circle on a floured work surface. Roll it out, making sure to roll in all directions and roll out any thick edges. When you think you are done set a 9″ or 10″ pie plate on top of crust. Adjust as needed: you need to roll this crust very thin for best results.

Transfer your crust to your pie tin. The classic method is folding the crust into quarters and unfolding it in the tin.

Now preheat your oven to 400 degrees or 350 if using a Pyrex  pie plate. Proceed with filling.

Pie filling:

Separate 2 large eggs, whites into a small mixing bowl, yolks into a larger one.

Beat the egg whites until fairly stiff. Leave beaters in place and change to larger bowl.

Beat egg yolks with:

1 cup milk

1 cup sugar

1/4 cup flour.

Zest 3 or 4 lemons over the bowl of egg mixture. Squeeze juice from lemons into bowl — you need at least 1/3 cup of juice.

Fold egg whites gently into the other ingredients and pour filling into your prepared crust. Transfer the pie to the oven. Keep an eye on it —  you are going to bake it for about 25 minutes, but this pie burns easily. If you are worried about it, put a strip of foil over the crust. Bake until filling is not sloshy. Allow to cool to lukewarm — if you cut it too warm, the filling will run and you will have pudding with crust rather than pie.

Like it? You can bake three more with the crust you now have on hand, or you can make quiche, apple pie, pumpkin pie, chocolate pie — whatever you like best.

Food Note: I use Meyer lemons in this recipe because we grow them. Eurekas or other tart lemons are fine, but don’t go above 1/3 cup of juice with them: Meyer lemons are sweeter than other varieties.

The Horror Roll: To nominate candidates for  “The Horror Roll,” please list foods or “foods” that scare you by their apparent deviation from real food in the Comments section. I’ll start a “Horror Roll” page soon with some of the most horrendous nominees. In fact, I’ll start it now. Check it out.