Archives for category: home cooking

Warning: this post may contain an embedded rant or two.

In the kitchen this morning, I have two large dry crusts of French bread, three eggs and several heads of baby romaine lettuce from the farm box. This late spring day appears to be one of the warm variety. I don’t know if these ingredients suggest anything to you: to me they suggest Caesar Salad.

My mama told me that Caesar Salad contains anchovies in the dressing. Cursory internet research suggests that Cesare Cardini used Worchestershire sauce rather than anchovies. I don’t even like anchovies, but I was taught to chop them finely and put them in the dressing for a Caesar Salad, so I do. I would not eat them on pizza. I would not snack on them out of the tin. I have never dared to make a pasta puttanesca because of the anchovies in it, but I keep anchovies in a jar of olive oil just so that I can make this salad when the mood strikes or when the ingredients are sitting around in the kitchen.

Furthermore, I do not care for any egg preparation that involves soft egg yolks — or hard egg yolks, for that matter. That leaves out poached eggs, fried eggs, eggs sunny side up, deviled eggs, hard-boiled eggs and Easter eggs. But I make an exception for Caesar Salad dressing, which calls for a coddled egg, cooked for one minute before you mix it with the other dressing ingredients.

Painting shows Caesar Salad and ingredients.

Caesar Salad. 8″ x 8″ Gouache and Watercolor Pencil. Sharyn Dimmick.

The salad that makes me set aside my food aversions is truly magical. You put in anchovies and barely cooked egg yolk, garlic, olive oil and lemon juice, black pepper. You toss the dressing with croutons, Romaine leaves and freshly grated Parmesan cheese and you have a crunchy, green refreshing salad with adequate protein from fish, egg and cheese. There is no need to add shrimp or grilled chicken to this salad as many American restaurants do.

First, make garlic-infused olive oil. Heat some garlic cloves in olive oil and allow the garlic and oil to sit while you do other things. While you are at it, halve a raw clove of garlic and rub it onto your wooden salad bowl. If you like raw garlic, set aside a couple of cloves to squeeze into the salad, or pound them in a mortar or mince them with a knife. I actually like minced or pressed raw garlic better than the more subtle garlic oil.

Then make croutons. Chop your leftover French bread into cubes. We like to use stale sourdough. You can saute them in a little of your garlic oil, or you can toss them with some of it and bake them in your oven for a few minutes at 300 degrees. I usually bake my croutons. Sometimes I just bake sourdough bread without any oil: the croutons will absorb dressing from the salad anyway.

Then wash your romaine lettuce and dry it thoroughly in a dish towel or a salad spinner.Tear into bite-sized pieces unless you particularly enjoy the exercise of cutting lettuce with your fork. Place lettuce in your garlic-rubbed salad bowl.

Take two or three anchovies from a tin and mince them finely — no one wants a big bite of anchovy in this salad — we just want the flavor. Set them aside for now.

Grate some Parmesan cheese. 1/4 cup will do in a pinch, but you might want to use more to get the snow drift effect.

Halve one lemon and get ready to squeeze it.

Dress your lettuce with a small amount of garlic olive oil. Add minced garlic if using.

Now coddle an egg: boil it for one minute only. Remove it from the pot. Crack it right into your salad bowl and toss with the lettuce.

Add the minced anchovies and toss again.

Squeeze lemon directly onto the salad. Toss again.

Add croutons and grated Parmesan. Toss again.

Grind some fresh black pepper over the salad. Toss again.

Taste and adjust seasonings.

Food notes: If you can’t stand handling anchovies, you could try using anchovy paste in a tube. I have never used it. Please do coddle the egg and use it in the dressing: the slightly-cooked egg, anchovies and lemon are what creates the distinctive Caesar dressing. You cannot get the proper effect without the egg. You cannot get the proper effect without some form of anchovies — if you are afraid of them, try using a little less — start with one anchovy if you are squeamish and work your way up. You cannot skip the cheese either, or the croutons — if you do, you have not made a Caesar salad, but some other kind of romaine salad. You cannot make a vegan Caesar — don’t even try. If you are a vegan, find some other way to eat your romaine. You cannot make a kale Caesar either: by definition, Caesar salad is made of romaine lettuce. Got it? You have latitude with the garlic, the oil, and the croutons and the amount of anchovy you use. For the Parmesan, you need to get the good stuff and grate it yourself: this is not the time to use stale, pre-grated cheese or the stuff in the green can: when you are only using a few ingredients, they need to be the freshest and finest you can get. That chicken and shrimp? Save them for another entree or cook and serve them on the side, please. Once you try the real Caesar salad, you will love it or hate it, but at least you will know what it is, that you have tried Caesar salad and not one of the many abominations that blacken and borrow its name.

If you’ve made it through the rant, you may notice that I put no salt in the dressing: both anchovies and cheese pack a lot of salt and I don’t miss it. But I did say you could adjust seasonings: that is code for add lemon, salt, pepper, garlic or cheese to taste. Enjoy. And if you experience any revelations after making proper Caesar salad, please come back to testify in the Comments section.

On Saturday my friend Margit and I walked through the Berkeley Farmers’ Market. I had been the week before and bought my first Brooks cherries of the year, walnuts in the shell, brown mushrooms. Stone fruit is beginning to come in: I saw apricots and bought a couple of baskets of cherries from Kaki Farms. Strawberries continue strong. Blueberries are here. Some vendors had bins of summer squash and the first beautiful broccoli was beginning to peep its heads out of baskets. But the thing that made me happiest was the bunch of basil I bought for two dollars.

Ah, basil. I didn’t even like the stuff when I was a child: it was just another mysterious seasoning in a Spice Island jar, dried and weird. It didn’t remind you of turkey stuffing like sage or pizza like oregano. Fresh basil was not seen or smelt at my house.

painting shows mortal and pestle, basil, basket of walnuts.

Making Pesto. 8″ x 8″ Gouache and Watercolor Pencil, Sharyn Dimmick.

All that has changed now. All late spring, summer and early fall, I buy basil by the bunch and set it like a bouquet in a glass of water on the kitchen counter next to the olive oil. I chiffonade it over green beans and steam them, tuck it into ears of corn before roasting them, add it to Greek salads, put it in turkey meatloaf or burgers. It is probably the herb I use most during the summer. Today and many other days will find me sitting at the breakfast room table, pounding torn basil leaves, salt, garlic, walnuts and grated cheese in my large Vietnamese mortar with a little olive oil.

Did I say walnuts? I did. Classic pesto is made with pine nuts. I have nothing against pine nuts except the cost. If I lived in New Mexico or Italy I might make pesto with pine nuts. Since I live in California I make it with walnuts and have come to love the combination of bitter and sweet freshly cracked nuts with pounded basil leaves and garlic (I also use walnuts to make a cilantro pesto, flavored with lime).

The first pesto I tasted was served in a restaurant (I no longer remember which one). When I lived in San Francisco I used to buy little plastic tubs of Armanino pesto. Then for awhile I made my own in a blender, until my friend Leila mentioned that pounded pesto had a superior texture. Because our blender is old and cranky I was spending lots of time mincing basil and garlic before feeding its maw and I decided to get a mortar and pestle.

My friend Elaine and I went mortar hunting in Oakland Chinatown and I brought back not one mortar, but two: I have a small marble mortar that I use to crush spices and small amounts of nuts and I have my big wooden Vietnamese mortar for pesto duty each summer.

I start in the kitchen, smashing garlic cloves with the side of a knife and peeling the skins away. The garlic goes directly into the mortar and gets a sprinkle of kosher salt, which helps the pestle break down the garlic fibers. Then I take a utility bowl, my basil bouquet and the big mortar and pestle into the breakfast room. I inhale the spicy green scent of the basil as I pick leaves, discard stems, and tear each leaf into smaller pieces. I pick and tear for awhile, then I pound for awhile, then pick and tear another layer of leaves. The aroma gets richer. When I have torn and pounded every last leaf I take the basket of walnuts and nutcracker from the sideboard and start cracking and shelling. There is no measuring involved: the pesto comes together and is done when its taste and texture suits me — the size of the bunch of basil is the determining factor: I will add enough other ingredients to blend with it, to complement it, but the basil is the star, so I start with garlic and salt, add all the basil, then add walnuts. The last step is grating Parmesan or pecorino with my microplane and stirring in a little olive oil.

If I need a break while I am pounding basil I will pour a little olive oil over the top. This helps keep the color bright. I do not care for oily pesto and have a light hand with the oil: I am not too fussy about whether the final product is bright green: I know it will be delicious and we are going to eat every spoonful and scrape the jar besides.

I never get tired of pesto. When the basil really gets going in mid-summer I try to make enough of it to freeze to last all year. I am never successful because if I have fresh pesto on hand I want to eat it on pasta, on sandwiches, in salad dressing, on green beans, on broccoli, on broiled portobello mushrooms, dolloped on the top of a pizza just out of the oven, or added to a winter vegetable soup. Every year I manage to freeze a few small jars or a bag of pesto cubes made in an ice cube tray, but I am dipping into my stash practically as soon as basil disappears from the Farmer’s Market. At the same time, I have days when I wonder why I have bought yet another bunch (or two, if they are on sale), condemning myself to a few more hours of sitting at the table, pounding away when I could be walking or swimming or reading or whatever else it is that people do on long summer days, instead of inhaling basil fumes and oil of walnut rising from warm wood.

We ate our pesto with whole wheat rotini, fresh sugar snap peas and some roasted red peppers from a jar.

Food notes: You can, of course, make pesto with any fresh  leafy herb and any nut. Some people use seeds instead — pumpkin seeds, sunflower seeds. Margit is allergic to walnuts and pecans so she can make hers with almonds. Elaine has used Brazil nuts successfully. Pine nuts are delicious. You can make pesto from arugula or from soaked sundried tomatoes. Some people make it with spinach or kale. You can mix herbs, too: basil, cilantro and mint is nice, or arugula and mint. You can make it in a blender or a food processor if you have one.

Blogging notes: Susie of SusArtandFood very kindly nominated me for another blogging award, the illuminating blogger award. I love it when people read The Kale Chronicles and I love it when they like it and I really like it when they find something useful here for themselves. What I don’t like is posting blog award patches on my site — I don’t think they look nice. And while I’m happy to let you know what blogs I enjoy reading I am not much good at making lists of them on the spot: I do have lists of links, although I probably should update them — perhaps at my one-year anniversary. You will find more details about me and my life in the posts than you perhaps want so I don’t think you need to know that my favorite color is green or that my favorite ice cream is coffee ice cream. My emphasis is seasonal home-cooked food. I’m quite happy when you read and comment on The Kale Chronicles and I do my best to respond to every comment I receive. Thank you all.

May’s Daring Bakers’ Challenge was pretty twisted – Ruth from The Crafts of Mommyhood challenged us to make challah! Using recipes from all over, and tips from “A Taste of Challah,” by Tamar Ansh, she encouraged us to bake beautifully braided breads. Although I have made pretty challah many times, I was tired this morning. I have recently undertaken a vigorous exercise program, involving walking up hills at the crack of dawn. Yesterday I followed that walk and subsequent breakfast with a walk through the Berkeley Farmers’ Market, and Andronico’s grocery store, came home to put away the groceries and construct a Caesar salad with kale (note to self: leave the kale out of Caesar salads — remember those tests asking “Which one does not belong?” Can you spell k-a-l-e? It was a noble effort).

Despite taking a day off of hill-walking, I dragged myself to the grocery store (on foot) because I needed milk to make challah, Mom had grossly underestimated our milk supply and I didn’t want to use canned milk or buttermilk sweetened with soda. When I got back to the kitchen the dishwasher was on the dry cycle and I unloaded that.

photo of misshapen loaf of Challah bread

Trolls’ Challah.

Only then could I begin the business of making challah: scalding milk and beating eggs, sifting flour, proofing yeast. I briefly considered embellishments: candied orange peel sounded good, but I have not yet candied my annual supply of citrus peel — the peels are sitting in the freezer, awaiting the day when I feel like doing it. I thought of making some kind of cinnamon glaze, but then I considered how tired I was and the kind of day I was having and decided to make plain old challah, the eggy, braided bread. I would use the recipe from our old Betty Crocker Picture Cookbook because I have used it before and was in no mood to mess around. Plain challah is the most versatile flavor: it can become French toast or bread pudding or croutons and will work for both sweet and savory sandwiches.

Rather than tell you what I did or what the cookbook says to do I will tell you a better way.

Film a saucepan with water.

Add 1 and 1/2 cups milk.

Set on medium heat until scalded (You’ll see small bubbles at the edges and a faint wrinkled skin on top of the milk).

Remove from heat.

In the measuring cup the milk has recently vacated mix 1/2 cup warm water and 4 and 1/2 tsp active dry yeast (2 packets). Whisk together with a fork.

Now measure 3 cups sifted unbleached flour into a large mixing bowl.

Add 1/2 cup whole wheat flour.

Add to cooling milk 1/4 cup butter (half a stick), 1/4 cup sugar and a teaspoon of kosher salt.

When the milk mixture is lukewarm, pour it into your bowl of flour and stir. Add the proofed yeast.

Beat 3 eggs until smooth in your much-used liquid measuring cup. Add to dough mixture.

Now begin adding more sifted flour, most likely about 3 cups plus.

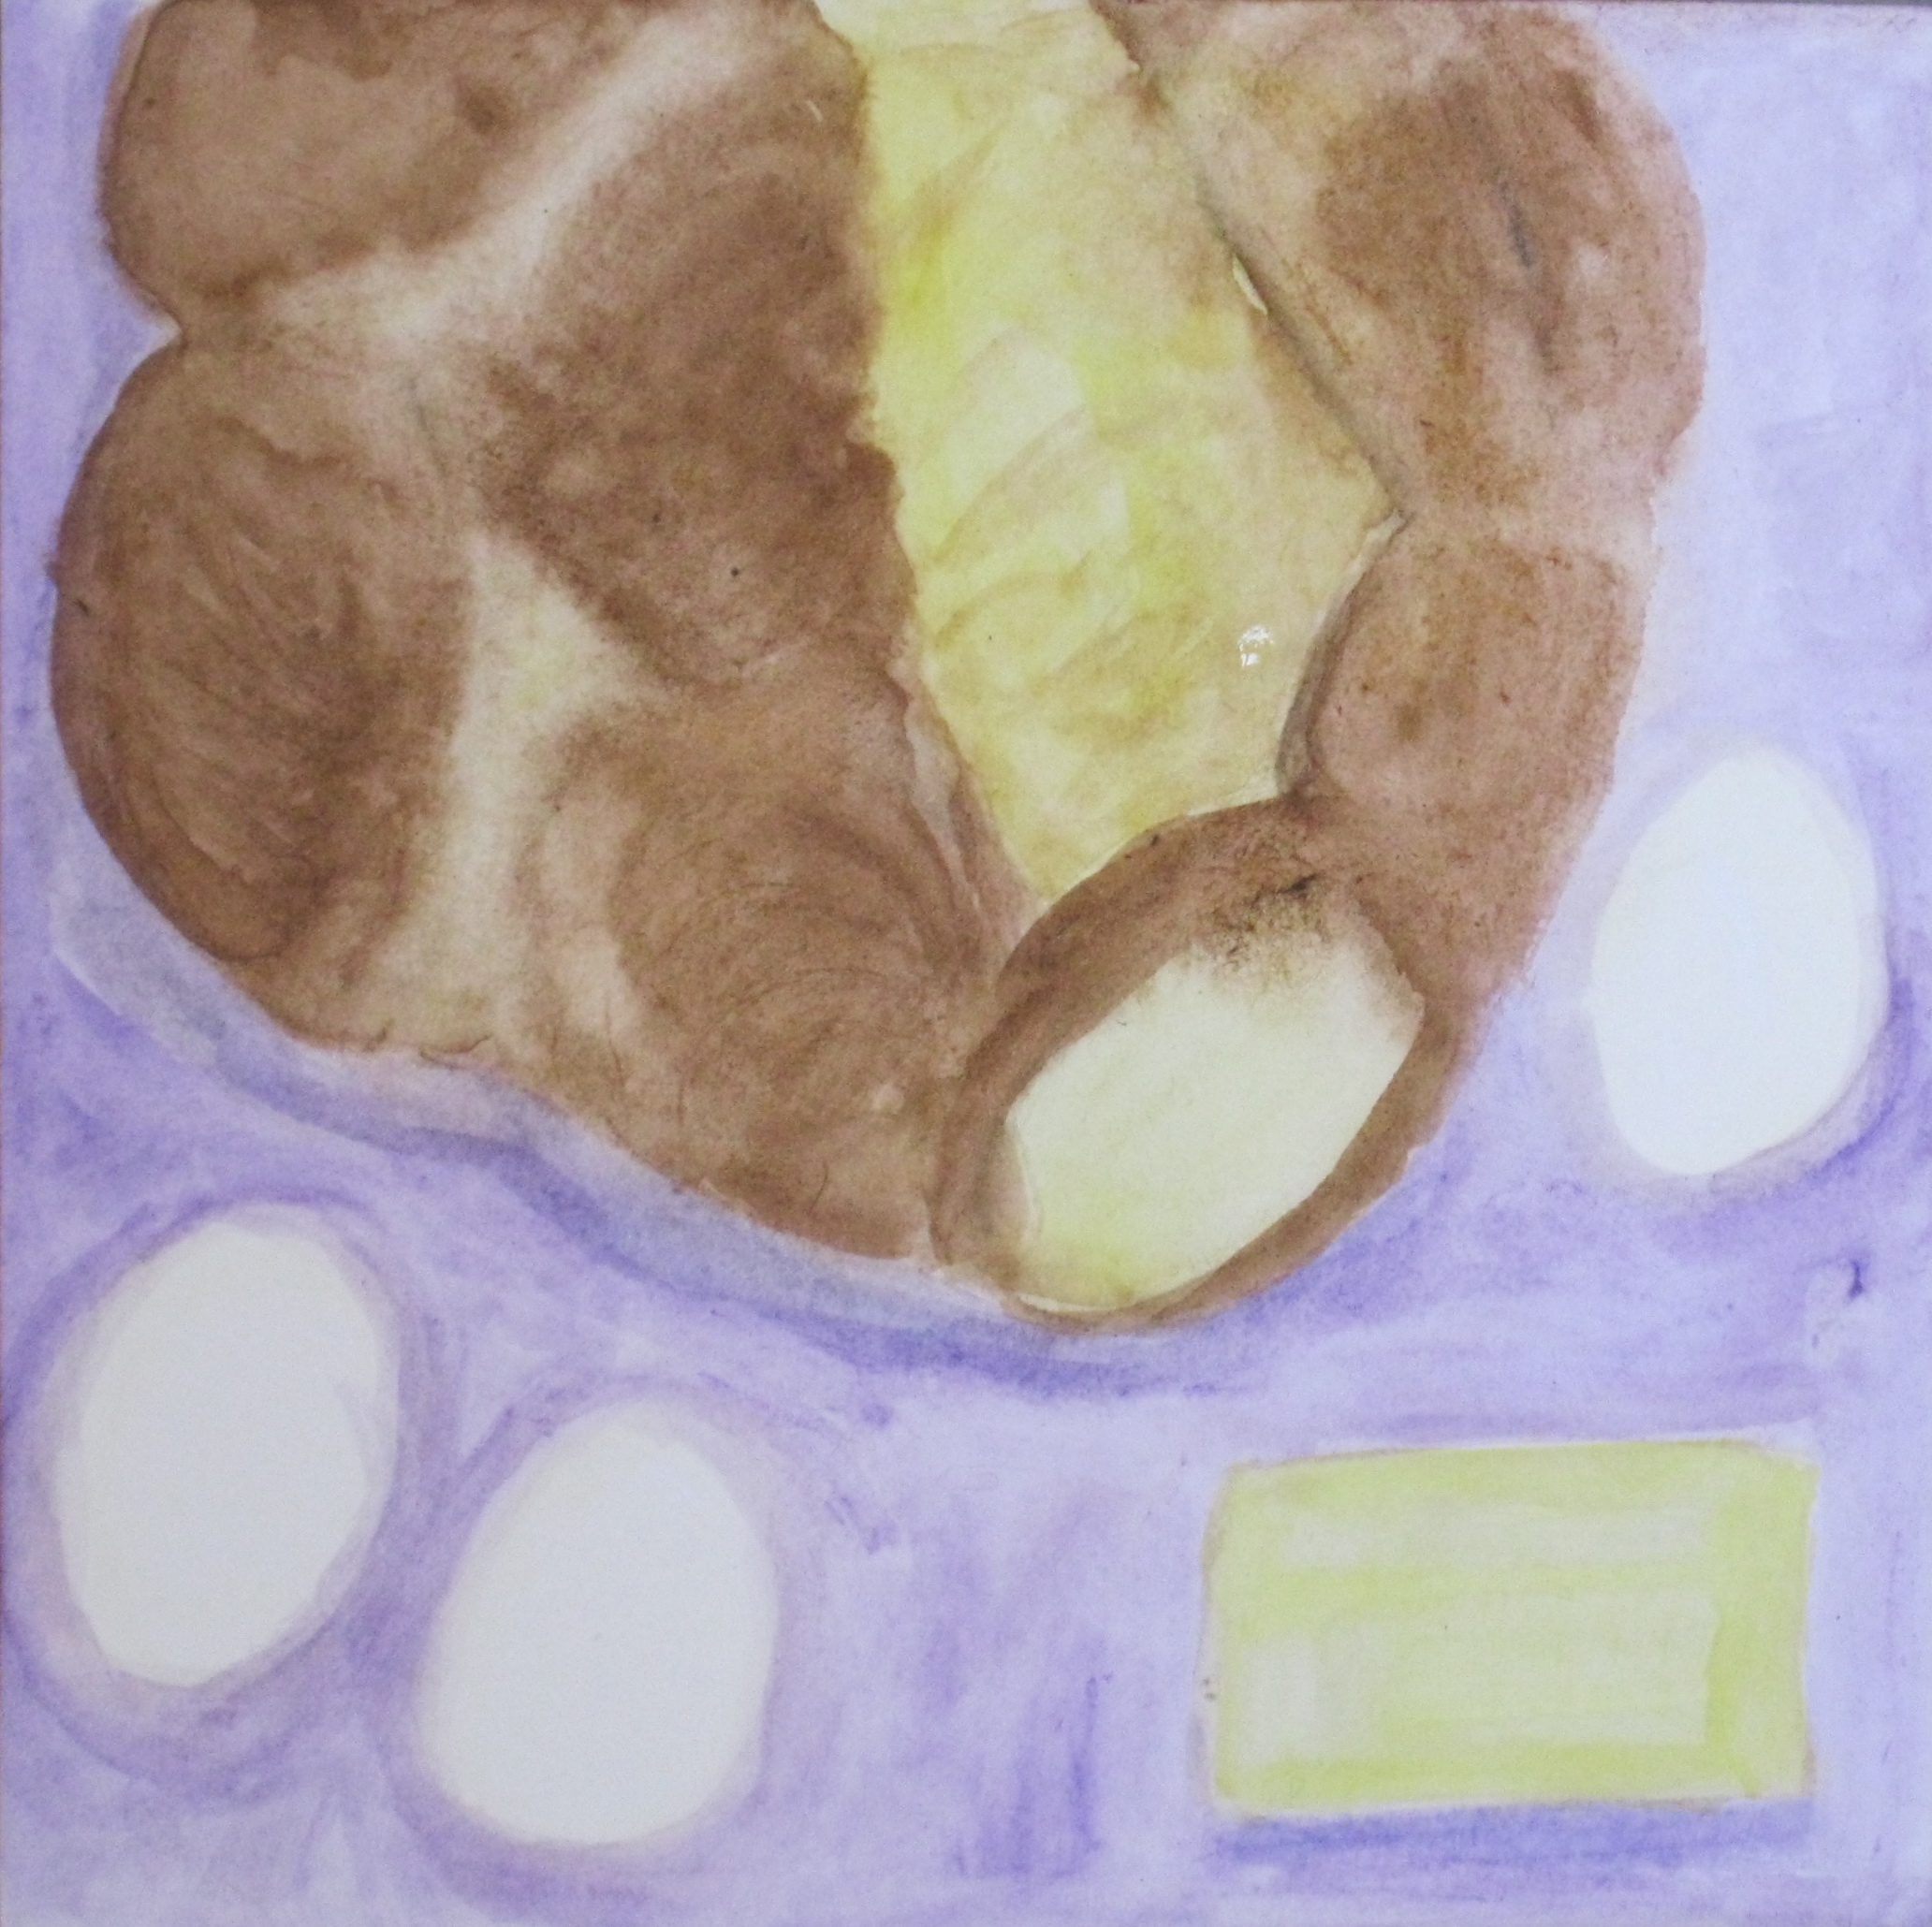
painting shows misshapen loaf of Challah, eggs and butter.

Troll Challah. 8″ x 8″ Gouache on Paper. Sharyn Dimmick.

The Betty Crocker recipe calls for 7 to 7 and 1/2 cups total sifted flour. You have now used half of that. When I got to this stage I sifted the additional flour 1 cup at a time, adding it to the dough in quarter cup increments. Today, cold and overcast, the dough took a total of 6 and 3/4 cups flour, including the half cup of whole wheat. Although I sometimes knead light doughs by hand, I used my Kitchen Aid for the mixing and basic kneading because challah calls for a large amount of flour. When the dough was smooth and elastic and pulled away from the sides of the bowl I transferred it briefly to a lightly-floured board to rest while I buttered the mixing bowl, preheated the oven to warm and heated a damp linen towel for twenty seconds in the microwave. I gave the dough a couple of quick turns and deposited it in the buttered bowl, covered the dough, turned off the oven and set the bread to rise.

Then I gratefully escaped upstairs for an hour and lay on my bed reading my copy of The Sun, the only magazine I subscribe to. After an hour I rose reluctantly to check the dough which had risen enthusiastically and begun gluing itself to the tea towel.

Prying the dough strands away with my fingernails, I deflated the challah dough and set it for its second rise. I glanced at the clock to determine that it would probably be ready for braiding just as I was ready to eat lunch.

The thing about being tired when you are a scratch cook and stock mostly raw ingredients is that there are no quick and easy lunches unless you have previously made the components. We swing from fresh-prepared meals to meals from leftovers in a regular rotation. I grabbed the nearest carrot and a handful of fresh cherries and put on a kettle for tea. The quickest sandwich I could come up with was cashew butter on store-bought raisin bread toast. True to form the tea was steeping, the toast was toasted and I had just spread the cashew butter on the warm bread when the challah once again threatened to overflow its mixing bowl.

Mom had come down for tea.”I have to braid the challah right now,” I told her and watched as she proceeded to cover the bread board I needed with lettuce and mayo for a cottage cheese salad. She finished, wiped the board cursorily and shoved it back in. I no sooner dried it and gave it a light dusting of flour when she came back and said, “I just need to get in here one more time.”

“What do you need?” I asked.

“Paprika” she answered, reaching for it.

While my toast cooled, although I shoved it back in the toaster oven, I braided the challah into three strands, tucking the ends under. I thought the braid was too long, so I double the loaf back on itself, giving it a double-braided look in the center, re-tucking the ends. I slathered a baking sheet with butter and cranked up the oven to 425 while I rummaged in the freezer for sesame seeds. I found white poppy seeds first. Fine. That would do. As an afterthought, the freezer spit four or five packages onto the floor.

I beat my last egg in the same old measuring cup, brushed it on the challah, dropped some poppy seeds on top and put it in the waiting oven, escaping upstairs with my toast and cherries. Mom turned on a program about the Buddha while I drank my tea (irony of ironies) and thought about how un-Buddha-like it is to snap at my mother. As she poured tea for herself, the lid came off the tea pot and tea fell on her robe. She was not hurt.

I carried the tea tray back to the kitchen to check the challah, In its fervor the yeast had risen magnificently but unevenly, bursting out in bulges, stretching the dough at the braid seams. In short, this was challah fashioned by trolls — it wouldn’t win any beauty contests. (No disrespect to any trolls lurking about).

photo shows cut end of Challah loaf to show crumb and color.

Troll Challah — crumb shot.

After letting it cool, I cut the end from the monster challah. I brought my Mom the coveted end slice and took a slice for myself. The bread showed its trademark yellow crumb and brown shiny crust, releasing its lightly sweet flavor in the teeth and jaws of the local troll population.

Food notes: the half cup of whole wheat flour improves the nutritive value of the bread without altering the characteristic pale yellow interior. I could see the wheat specks like tiny freckles in the raw dough, but all trace of brown disappears in the baked bread. You can, of course, make whole wheat challah, instead, but you will have to adjust the amount of flour used and knead it for at least twenty minutes to achieve any lightness. If you want pretty challah, strive to make your dough strands relatively short and entirely even, braiding with care and symmetry, just as you would braid your prettiest daughter’s hair.

In other news, even trolls, churls and snapping daughters sometimes receive blogging award nominations. More on this on Wednesday…

“Spring green” is a common phrase and color name. The spring in California is rich with greens: before we get to the reds, blues and yellows of summer we have pea green, asparagus green, artichoke green. And in the farm box we have beet greens, Swiss chard, kale, green garlic, spring onions, lettuce,  bok choy and peas. It is little wonder I was drinking my greens recently, shoving some spinach into a smoothie to make way for new rounds of greens.

Painting shows calzones on pizza pan and ingredients.

Green Calzones. 8″ x 8″ Gouache on paper. Sharyn Dimmick.

I have made pizza for many years and somehow never made the leap to calzones. The dough is the same, the famous Cheese Bread sourdough recipe made with a cupful of whole wheat flour. The technique for shaping calzones is the same: you begin with eight small disks instead of three larger ones and go through the dimpling and pulling process.

I might have gone another few years without making calzones, except that Betsy’s recipe for calzones caught my eye and lingered in my imagination. Betsy made hers with fresh kale. I made mine with leftover cooked chard. I followed Betsy’s guidelines for the cup of feta and the 1/4 cup of dry cheese, but I used pecorino Romano where she used Parmesan.

Most of you know the drill for sourdough by now: if you want sourdough pizza, bread, waffles or biscuits you have to make up a sourdough starter. You need to feed it occasionally, but if you use it once a week or more it doesn’t take much care and feeding. I fed my starter yesterday morning with a half cup of water and a half cup of unbleached flour, shook it a few times and left it out on the counter. Come afternoon I came back and made pizza dough with a half cup of starter, 2 and 1/4 cups flour, 1 cup whole wheat flour and a generous teaspoon of kosher salt. Read the gory details here.

This morning I took my pizza dough out of the fridge at eight. At 10:22 I removed its dish towel, formed the dough into eight small rounds, floured the damp towel and let the dough sit while I made filling. I also put my pizza stone in the oven and cranked the heat up to 450, deploying three racks: one for the pizza stone, two for the trays of calzones.

First step: dump cooked chard from frying pan into pizza dough bowl (Why do more dishes than you have to?). Heat same frying pan over medium heat while you slice the white of a small leek and the shoots of some green garlic, wipe 3/4 of a pound of mushrooms with a clean damp cloth and slice them. Add olive oil to the skillet and saute your leeks and garlic while you continue to slice mushrooms. Add leeks and garlic to chard. Saute mushrooms in two batches, adding oil as necessary. While you have the oil out, lightly oil two pizza pans. Add sauteed mushrooms to chard, leeks and garlic. Crumble 1 cup of feta into the vegetables. Use microplane to grate 1/4 cup dry cheese over top. Grate some nutmeg to taste and add a sprinkle of red pepper flakes.

At this point, the faint-hearted or fanatically germ-phobic might give this mixture a stir, but I like to work with my hands, so I plunged my hands into the bowl and mixed. Then I washed and dried my hands before turning to the dough.

Using the dimpling and stretching techniques detailed in the pizza post I made my eight disks into eight five-inch circles, one at a time, so that I could fill and fold each calzone before making the next one. Again, I used my hands to scoop filling onto half of each calzone, but the fastidious may use a spoon and the precise may use a scoop or measuring cup, but you will need to use your hands to fold the crust over the filling and seal the edges.

Once your calzones are filled, folded and sealed, give each one slash with a sharp knife to allow steam to escape. I use a stainless steel steak knife. If you keep a clean razor in your kitchen that will work, too.

I put one tray of calzones in while I filled the others. When the second batch was filled and folded I switched the first tray to a higher rack and started the second one on the middle rack. In ten minutes, I switched them again. We like things toasty and brown so the first tray was probably in the oven about thirty minutes. When I took the first tray out I turned off the oven and let the second tray finish cooking from the residual heat of the oven and the pizza stone.

By the way, I did not make the dough green. It is not St. Patrick’s Day. If you eat your spring greens you will see plenty of that color.

Food Notes: Betsy serves her calzones with marinara, which I’m sure is good. We ate ours plain to get maximum crust effects. Variations are legion: you can use any cheese you like, although the combination of a creamy one and a dry one produces a nice texture and flavor without a grease factor. If I could only have two cheeses for cooking they would be feta and Parmesan so Betsy’s choice worked for me, but you could use goat cheese and dry Jack or ricotta and Asiago. If you won’t eat or drink your greens, stick to mushrooms or pile in some meat. I badly wanted to add some roasted red peppers, but I didn’t want the mixture to be too wet, and I would have added sun-dried tomatoes if I hadn’t eaten them all by March. The same dough that makes crisp thin crust pizza transforms into a breadier dough you can hold in your hand when stuffed in this manner. Enjoy.

Blog Notes: Twice in the last week kind persons have nominated me for the Liebster Blog Award, an award for blogs with under 200 subscribers. While “The Kale Chronicles” fits that size, it has been previously nominated more than once. Because it can be difficult to establish how large or small a blog is, I will merely encourage you to visit the folks who nominated me, Peri’s Spice Ladle (Indian specialties) and artratcafe. (original art and occasional wonderfully illustrated posts of food descriptions from literature). I will further encourage you to visit Susartandfood. (I go for the stories).

Painting shows tea service on linen cloth in dining room.

Elegance. 6″ x 6″ Goauche and Watercolor Pencil. Sharyn Dimmick.

My friend Suzanne requested that I take on this topic, an essay on ease, elegance and economy. The story is that my mother was reading a book from the library, name and author now forgotten, on housekeeping (which activity Mom has never cared for) and the author stated that of the three desirable qualities, ease, elegance and economy, one could only have two of the three. The formula plays out something like this: if you are rich, with endless resources, you can buy elegance and ease. You can have servants to do all tasks you find unpleasant. You can buy the best of ingredients and have them served up on the finest china. You can even hire a chef or a cook to cook your meals for you: if you hire a good one, well-trained, with a fine palate and endless patience and high-dexterity, you can serve vol au vent and pastry swans filled with creme chantilly or whatever your elegant little heart desires.

If you are not rich, you may decide to go for economy and ease. That is the American way of processed foods, the middle aisles of the supermarket containing all of those frozen things in bags and boxes: prepared pies and lasagna and pizza. Coupons in every newspaper and online will help you cut your costs further. The same supermarket features paper plates, paper napkins and plastic cups, as well as disposable roasting pans — you can cook and serve your meals on things you throw away — how easy is that?

Painting shows convenience foods, microwave oven, disposable utensils.

Ease. 6″ x 6″ Gouache and Watercolor Pencil. Sharyn Dimmick.

If you get excited when you see a recipe for altering your store-purchased roast chicken or cake mix, this way is for you. To be fair, the entry of Trader Joe’s into wider markets has increased the quality and selection of many packaged foods, although many of these items are heavier on salt than they should be. An easy and economical dinner option would be to heat up some Tasty Bites with some rice, or pop open the Prego and make spaghetti, as we occasionally do on nights when no one wants to cook. We all have our favored shortcuts. Just be aware that consistently choosing economy and ease has a high cost to the planet and to your health. Celi of The Kitchens Garden once suggested visualizing everything you discard going into a heap in your yard because, in a big sense, it does.

Then there is the middle way, the one where you strive for elegance and economy. In the absence of servants and cooks, you become the servant and cook yourself. The way to produce elegance out of economy is to work and to learn. With the help of cookbooks and food shows and now cooking blogs you can teach yourself to make puff pastry, croissants, sourdough pain au levain. You can practice flipping crepes and making elegant, seasonal marmalades and jams. You can make your own pestos, rather than buying them. You can make your own pasta and cheese like John from the Bartolini Kitchens. You can raise your own chickens like Suzanne and Scott and run your own sustainable farm like John and Celi. There is no end to the elegance to which you can aspire if you are willing to put in the labor. With this option, you cannot fire the cook, you can only start over and attempt to do better. We have pretensions to elegance and economy around here: we have the economy down and we struggle with the elegance, sometimes gracefully, sometimes humorously. We have learned to know our limits: deep-fried dishes and crepes are beyond my reach, so I reserve those dishes for restaurant dining, currently a rare treat.

Painting shows basket of fresh produce.

Economy: Market Basket. 6″ x 6″ Gouache and Watercolor Pencil. Sharyn Dimmick.

Many of you in the food blogosphere do better with elegant tables than I do. We do eat on china and use cloth napkins and I can manage a garnish on a good day, but I am generally more concerned with the taste and texture of the food than I am with the presentation. I do well on economy, although I could do better — I strive to use every bit of food that comes into our household: the Riverdog Farm chicory challenge is a good example of that and I have chronicled the ever-expanding list of things I make each citrus season. Using up all of that food is work and conversations around our house frequently begin with “We need to use up the sour milk” or “We need to think of something to do with the plum jam” or “What are we going to do with seven leeks?” The best starting point I can come from is that of love, when I want to make my own sourdough because I love it so much and can’t be down at the bakery everyday buying samples, when I have raspberries so special that I want to learn to make raspberry caramel to layer into a dessert. The combination of elegance and economy opens the door to challenge: can I make my own winter squash gnocchi? Will it be as good as what I have eaten in restaurants? It isn’t yet, but I have not given up trying.

I confess that I love to spend money on food and that I love to buy special, high-quality ingredients. When I walk through the Farmers’ Market in Berkeley I am often tempted to buy more than I can use easily, especially in the summer and early fall when the choices are so wide. If I had unlimited funds, I would buy more whipping cream, more organic milk and eggs and meat. I would experiment with coconut oil and almond flour and coconut sugar. I would buy raspberries every week during their season and eat them until I was sick of them. I would buy enough tomatoes in tomato season to have dried tomatoes for the other eight months of the year. With the economy I have been taught by my careful mother I scour the shelves at Grocery Outlet for true bargains: looking for great products at reduced prices is part of the work entailed in elegance and economy, as is limiting shopping to one trip a week and relying on creativity to devise appropriate substitutions and menu changes when we have run out of something.

This week I had the opportunity to visit what I affectionately call “the rotting rack” at Berkeley Bowl, the place where they put produce items reduced for quick sale. There I found several pounds of grapes for ninety-nine cents, organically grown fresh strawberries for the same price and a whole green papaya, which will soon become Thai green papaya salad (stay tuned). To find these items, I had to pick through many clam shells of moldy strawberries and under-ripe hothouse tomatoes. To turn these items into meals and snacks, I will have to contribute labor: my friend Elaine and I sat around last night removing the seeds from the grapes and arranging grape halves on the trays of my dehydrator where they became raisins overnight. I also had to sort and trim all of the strawberries to make sure no mold lurked about (There was none).

There are many paths through the maze of ease, elegance and economy. Eating things in their seasons is a good start. While seasonal delicacies such as lobster and raspberries may never become cheap, they are at their best and most plentiful in their time and when the supply goes up, the price goes down. Think of zucchini season when you have to do anything you can to refuse zucchini donations from overzealous gardeners. Good restaurants capitalize on seasonality, buying their produce from small farmers and varying their menus to serve the season’s treasures. Our local Chez Panisse built its reputation on foraging for the best ingredients each week and preparing them skillfully. Not everyone can eat at Chez Panisse, but we can do our best to shop locally, eat fresh food whenever possible and create our own experiences of elegance.

P.S. For the record: I will eat Prego marinara but I always make brownies from scratch.

Painting shows lime, mint leaf, ginger root and glass.

Lime-Ginger-Mint Cooler. 4″ x 6″ Gouache and Watercolor Pencil. Sharyn Dimmick.

What season is it anyway? I am in the kitchen, trimming cabbages, peeling rutabaga, cutting the tops off carrots. I was going to make Caesar Salad with baby romaine to celebrate the first warm, bright Sunday of May, but all of the lemons on our tree are small and green, so instead I trim the remaining winter vegetables. The rutabaga has that hot taste it sometimes gets and some of the carrots are watery. They don’t know what season it is supposed to be either.

I start slicing fennel, thinking I’ll stir up some kind of mustardy vinaigrette for it. I go back upstairs for a recipe that is surely in my saved blogs folder and can’t find it. I search two or three blogs I read for fennel salad and come up empty-handed. Yes, I make a fennel salad, but I want to make a different one. I mix some whole-grain mustard with some red wine vinegar and put that on the sliced fennel. I eat quite a lot of that while I’m thinking (I haven’t had lunch).

I go back upstairs and find an intriguing recipe for rutabaga, which I have all of the ingredients for. I look for the Mario Batali original, but can’t find it. Do I really want to make rutabaga home fries? Not before I eat something. But what am I going to eat? There on the toaster oven is the dry French bread I was going to make into croutons for the salad. When in doubt, eat bread and cheese. I cut the bread into three slices. Our cheese supply is limited today: we are down to mozzarella, Pecorino and those crusts of Parmesan that you throw into vegetable soup, so I cut a few slices of mozzarella, add some Pecorino for flavor, pile fennel shards on top of that and put the whole thing in a 400 degree oven. Fifteen minutes later the cheese is browned in spots the way I like it, the fennel is warmed through. I eat a cheese toast. I go upstairs. I eat another one. In ten minutes I am back downstairs for the last piece.

This time I stay long enough to make pizza dough. I keep sourdough starter in the fridge and try to use it once a week. Mozzarella and Pecorino are perfect pizza cheeses, so I mix together 3 cups of flour*, and 1 and 1/2 cups of water and let it rest for ten minutes. Then I add 1/2 cup of sourdough starter and a little over 1 tsp kosher salt. I let the KitchenAid mix that several minutes with a dough hook while I add flour, tablespoon after tablespoon after tablespoon, waiting for the dough to leave the sides of the bowl, which it doesn’t want to do today. Eventually, I move it to a floured board and knead by hand as it absorbs all of the flour from the board. We do this dance for quite awhile and then  I smear a little olive oil in the bread bowl, cover it with a dish towel and consign it to the refrigerator: I will make the pizza tomorrow. The arcane pizza-making instructions come from The Cheese Board Collective Works, one of my favorite cookbooks for pizza and sourdough bread.

Now, some people I know make delicious pizza. They seem to plan what they will put on it. Around our house, we make pizza because we have a lot of odds and ends of cheese and meat, or half a jar of olives to use or some leftover pasta sauce or eggplant that needs to come out of the freezer. Or we make pizza because it will use the mozzarella we have in the house. I spied some green olives on the door of the fridge that I suspect will become pizza ingredients and I believe I have some roasted red peppers in the cooler.

The cooler, by the way, is a cabinet that more houses should have. It is a cupboard built next to an outside wall of the house. Part of the wall has been replaced with a screen. Because fresh air cools the cabinet, you can keep oil, vinegar, mustard, ketchup — things that might otherwise take up space in your refrigerator — in the cooler. We store canned goods in there, too, both homemade and store-bought, and things like Karo syrup.

The day slips away after that in another round of phone calls and emails about hotels in France. Sigh. I whir 1/4 cup of minced candied ginger in the blender with the juice of two limes and a handful of fresh mint leaves. I pour most of it into a glass and add sparkling water. I call that dinner. Without the water this makes a great dressing for fruit salad: you can add more lime if it is too paste-like, but the fruit will give off juice. It’s a good alternative to dairy-based dressings and mayo (shudder). I’ve been known to dress carrot salad with it, too.

What do you do with “hot” rutabagas and watery carrots? I expect some gardeners or farm cooks will have some answers.

*I like to use part whole wheat flour in pizza dough, usually at least 1/2 a cup.

Photo shows green corn worm in ear of organically grown yellow corn.

Unseasonal corn worm.

It’s been that kind of week. The kind of week when you flush the toilet and it doesn’t work the first time. The kind of week when your browser refuses to work on the day you plan to book your airfare to Europe. The kind of week when you make a carrot and fennel soup from a recipe in the newspaper. You use the freshest of ingredients and the best of milk and the soup is blah, boring, and an unattractive color. By your third bowl of it in three days you steam some beet stems and puree them to add to the soup and that fixes the color issue, but not the taste.

You make one of your favorite breads and one loaf is fine and the other is gummy in the middle. Your mother hangs out three loads of clothes and you look up from a dinner of shrimp diablo and beet greens with cumin, only to find out that it is raining.

You are planning to make a birthday cake. You thought you would get it done today, but the beets you are cooking on the stove release beet-colored steam all over just as you are about to leave the house to catch the bus to get your weekly vegetables. Fortunately, the birthday girl lives far away and you only promised to email her a photo of the cake by Friday midnight.

You didn’t think when you started this blogging gig that you would ever miss a post. That is until you got norovirus in February, which slowed you down for three awful days. You don’t have norovirus now, but you might as well have because it would fit right in with this kind of week. You try to add a new scan of a painting to this apology post and your scanner has apparently lost its ability to communicate with your computer or vice versa.

So what can I say? I’m sorry. Nothing new I have made this week has worked out well yet and I’ve already given out the recipes for the other things we have been eating. I’ll be back in a few days, I expect, perhaps with that cake.

In Northern California spring can start in February and continue through May. First we see daffodils, then flowering pear, plum, crab apple and quince trees. Spring crops come in slowly: green garlic, lettuce, then asparagus, followed by peas. On my last Farmers’ Market visit two weeks ago the strawberries had white shoulders and the grower I like to buy them from (Lucero Farms of Lodi) had not yet taken up a stall, but I had a feeling I would find strawberries today, and there they were, small red Seascape berries with long stems destined for the year’s first strawberry shortcake.

Painting shows a heart-shaped strawberry shortcake and baskets of berries.

Strawberry Shortcake. 8″ x 8″ Gouache and Watercolor Pencil. Sharyn Dimmick

There are many variations of strawberry shortcake: you can make it with angel food cake or lemon pound cake or sponge cake or olive oil citrus cake. I have tried them all, but my favorite recipe for strawberry shortcake is a biscuit base, split and covered with fresh strawberries, served with lightly sweetened whipped cream. To honor the ritual of spring I will use organically grown Farmers’ Market strawberries, and whipping cream from Straus Dairy in Marin County.

I will buy my cream at a local supermarket, but because it is Earth Day I want to think a bit about what it took to produce this traditional spring dessert. Someone had to plant the strawberries, tend them, water them, pick them, bring them to market. Someone had to raise sugarcane and refine it. Someone mined the salt, picked vanilla pods, raised wheat, ground it into flour. Someone had to raise the dairy cow, feed her on grass, milk her. Someone had to separate the cream, sterilize the bottles, fill and cap them. Someone had to drive the cream to the supermarket. Someone had to put it on the shelves. Someone had to drive the bus that takes me from market to market and home again. In a day gone by, members of my family, relatives from a few generations back, might have kept the cow and skimmed the cream and planted the strawberries in Illinois where they farmed, but my parents both moved to California as teenagers and never went back to the Midwest. Celia’s small farm at The Kitchens Garden might be something like the farms my mother knew in her youth, farms with hedgerows, vegetable gardens, small orchards, cows and chickens, diversified crops.

In California I now buy the bulk of my produce from an organic farm eighty-seven and a half miles from where I live. Someone drives to Berkeley each Wednesday and places boxes of vegetables and fruit on a front porch. I take a bus and walk several blocks, load the heavier vegetables into my backpack and the delicate items into a canvas bag. I have no choice in what goes into my produce box: someone at Riverdog Farm decides what is best each week and loads it up. I unpack the box and fold it: the farm driver will collect it the next week. I like the idea that I am getting produce picked that morning or the previous day and I like it that in a small way my food dollars are supporting small, diversified agriculture on a farm that uses organic growing methods: although I cannot farm myself I have farming roots. Small farmers are real to me,  people that raise food and think about how they are raising it. The Capay valley where my produce comes from has many small farms started by former students at U.C. Davis on land that agribusiness did not want.

I shop at the Farmers Market to supplement my produce box. There I can buy a flat of peaches in June, more corn in July, bunches of fresh basil in August, these first spring strawberries in April. Every week I can walk down the center aisle and look to see what has come in, compare prices, sniff the air perfumed by seasonal fruit. I am grateful to live in a state where the growing season is long and next to a city that supports three different farmers’ markets year-round.

Enough. Now it is time to go into the kitchen to make that special shortcake with the first strawberries.

First, shake the cream bottle to redistribute the fat evenly. Then pour the grassy-smelling cream into a small mixing bowl and set it into the refrigerator to chill, along with the beaters. The cream will triple in volume as you whip it, so make sure your bowl is not too small. If you wish, you may season it at this point: I like to add  2 and 1/2 tablespoons of sugar and 1 tsp. vanilla and, sometimes, the barest grating of fresh nutmeg.

While the cream chills, prepare the shortcake:

Preheat the oven to 425.

Sift together 2 cups of flour

1 Tbsp baking powder

1/2 tsp kosher salt

2 Tbsp sugar.

Cut in 1/3 cup unsalted butter (if you use salted butter, omit the kosher salt)

Add 1 cup milk

Stir just until combined.

Put into a buttered cake pan.

Bake for 12 to 15 minutes until lightly browned in spots.

While the shortcake bakes, prepare the strawberries: remove the hulls and stems and then wash berries in a minimum of water. Let them drain in a colander or pat them dry. Taste one. If your berries are ripe and sweet, you need not add anything, but if you are my mother you will insist on adding a few tablespoons of sugar so that the berries give off more juice — it’s your choice since Mom is not in the kitchen with you. You will also whip the cream now. We like ours moderately stiff so that we don’t have to whip it again the next day.

Once the shortcake is out of the oven, split it in half and pile berries between the layers and on top. Serve with whipped cream.

I will return the plastic strawberry baskets to the market next week for re-use (and perhaps buy more strawberries). I will return the cream bottle to the grocery store eventually, collect my deposit and try not to buy more cream for awhile.

Food Notes: Strawberry shortcake features two elemental foods, cream and strawberries. To make a delicious shortcake, start with the best cream and berries you can find: local dairy cream and organically grown berries will give you the best flavor. Some things are worth waiting for and it is better to make this with ripe, red strawberries that have developed their sugars than to use white-capped or green berries. If you cannot get local cream, choose cream from your market that has not been marked “ultrapasteurized.” Ultrapasteurized cream has been heated to a high temperature to give it a longer shelf life and has a cooked taste that you will want to avoid once you have tasted the alternative. We sweeten our cream with white cane sugar to keep the flavor pure, but you are free to use any sweetener you prefer as long as you do not introduce chemical sweeteners. Finally, you may use any sort of cake or biscuit base that you like, but I implore you to bake it yourself and eat it while it is warm from the oven.

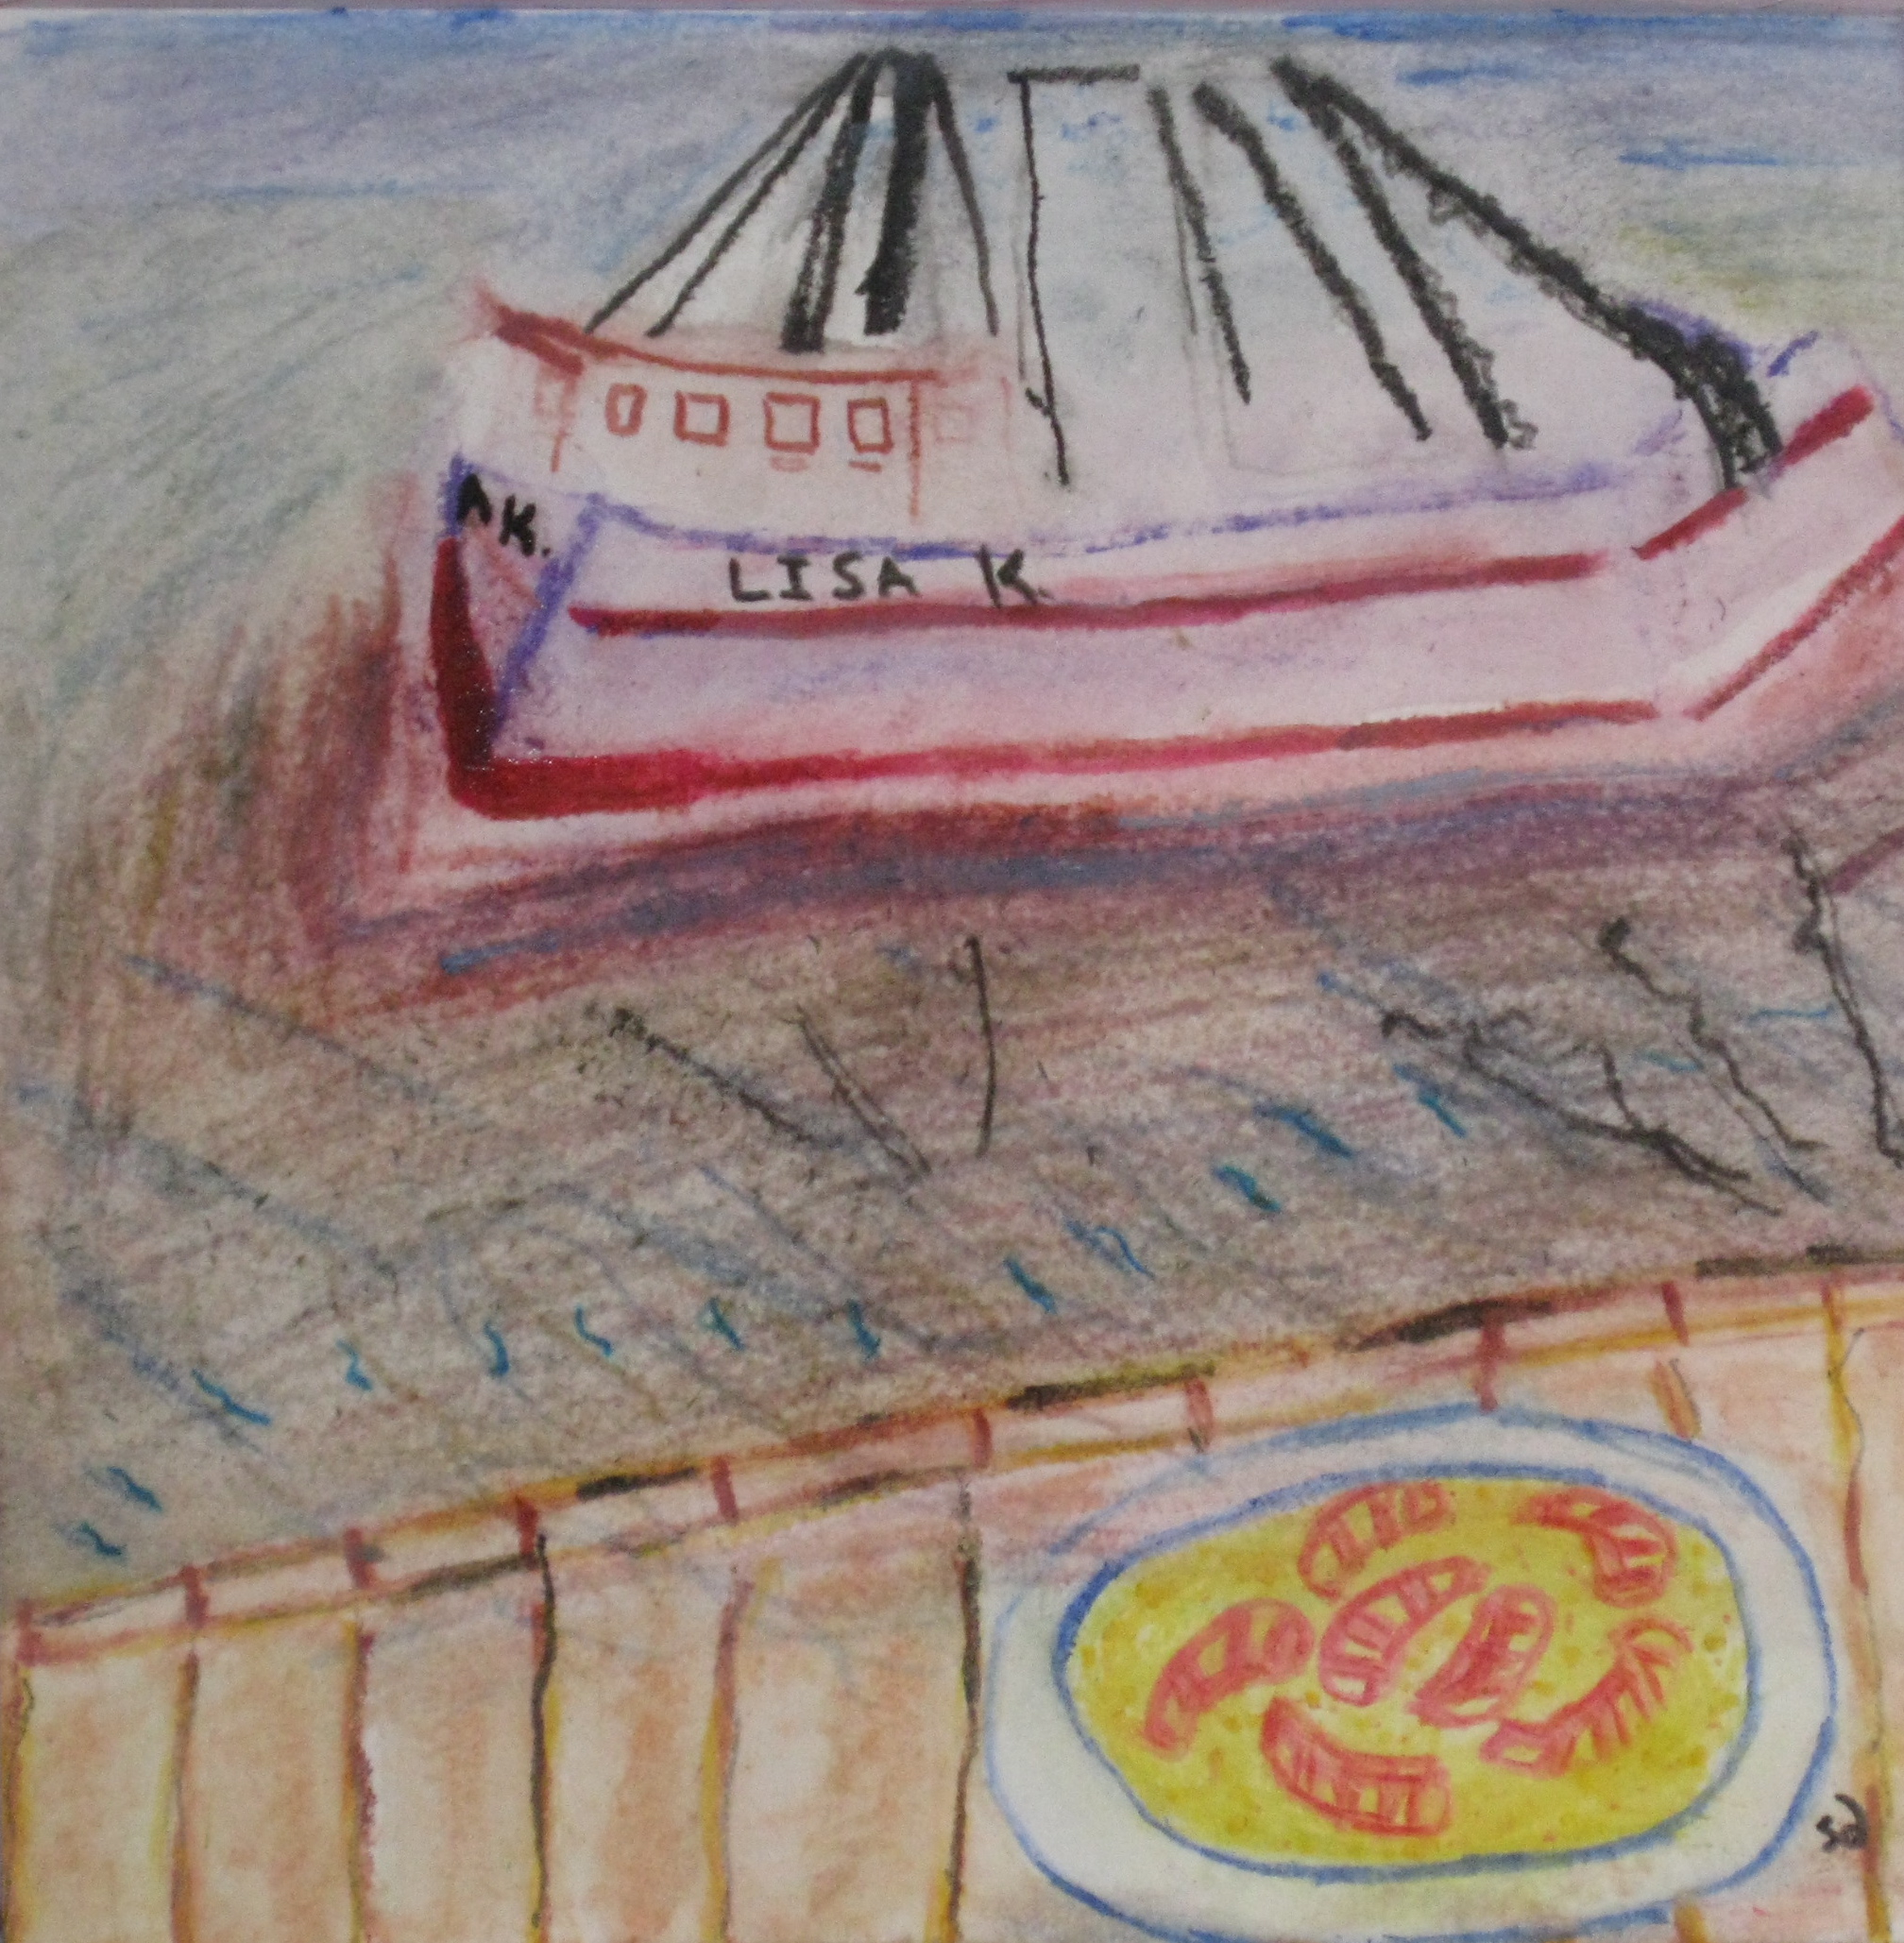
painting shows dish of shrimp and grits and a shrimp boat.

Shrimp and Grits. 8″ x 8″ watercolor pencil, gouache and ink. Sharyn Dimmick.

All of my friends like to write and eat. Well, some of them like to sing and eat and some of them like to talk and eat, but all of them like to eat. Lisa Knighton, whom I met at a retreat with Natalie Goldberg, is a fitness trainer who likes to eat healthy, fresh, local food, to bake cakes and to tell stories. Just see how many stories she starts to tell you in this post. Lisa hales from Athens, Georgia, and has come to “The Kale Chronicles” to teach you how use wild-caught shrimp and that Southern staple grits in the entree shrimp and grits. By the time you read this, you’ll be wanting to make them for supper (Let me just apologize in advance for the funky spacing in Lisa’s post — even re-typing it won’t fix it — I tried).

Who knows the first time I was fed grits. Probably would have to count all the times my mother ate corn grits when she was pregnant with me.
Daddy makes his grits with water, on the stove top in a small, metal pan. The corn grits bubble for 20 minutes, at least. He tells me: “Take a quarter cup of grits. Sometimes I measure the water and other times I don’t.”
Grits ain’t groceries.
Mama says that when she was a little girl her father was responsible for making her breakfast. “Each morning, before school,” she says, “My daddy would serve grits and sunny-side-up eggs. And as he put the grits on my plate, he said ‘Grits ain’t groceries.'”
Grits may not be groceries — meaning grits were staples — always in the southern house and made fresh at the nearest grist mill, often ground from the family’s very own corn. Grits are always eaten, at least in my family, with salt and black pepper and a spoonful of softened butter.
Another food I grew up eating was shrimp. Big Daddy, my daddy’s father, used to own an oyster bar, just off the main square in downtown Blakely, Georgia. At Christmas time, instead of turkey and such, Daddy, Uncle Charles, and boy cousins old enough to operate oyster knives shucked croaker sacks full of fresh oysters pulled from Apalachicola Bay on the Gulf of Mexico. Also, we ate tender Gulf shrimp, most often boiled and served hot with a small side bowl of cocktail sauce. I don’t ever remember sitting down for a Christmas meal: my cousins and I stood about eating the seafood as quick as it was prepared.
April begins shrimp season in Georgia. These days we bring shrimp home to Athens from the salty Atlantic waters near Darien, Georgia in McIntosh County. When we travel back from visiting this lowland county, situated along the Altamaha River, a place made infamous by Melissa Fay Greene’s 1991 work of nonfiction, Praying for Sheetrock, we always have the blue cooler iced down and full of these sweet, wild-caught Georgia shrimp.
When I set out to make grits, gourmet grits, I turn to Nathalie Dupree, author of cookbooks of the American South. When Natalie lived in Georgia I once had the good fortune to attend an afternoon party at her home in the pretty town of Social Circle. Her large dining room table was decorated with food she’d prepared, but all I remember was the big helping of warm cheese grits I ate, scooped from a large, hollowed-out round of Parmesan cheese. I’ve adapted the shrimp and grits recipe I offer from Nathalie Dupree’s Shrimp & Grits Cookbook. I’ve also provided links to two places located here in the South where you can order yellow grits, or white grits. I encourage you to select  wild caught shrimp for this recipe.
Shrimp and Grits (serves four)
First, bring all of your ingredients to room temperature before cooking.
2 cups water
1 cup milk (1%, 2%, or whole — just know that the fattier the milk, the creamier the final taste)
1 cup half and half (have another 1/2 cup water or half and half on hand to use when the mixture begins to thicken).
2 cloves garlic, finely chopped
1 cup grits (white or yellow will do  — just know that white grits are more refined and smooth, and yellow grits are rustic, coarser.)
1 pound of shrimp, peeled, heads removed.
1/4 to 1/2 stick unsalted butter
1/2 cup fresh shredded mild to medium cheddar cheese
1/2 to one cup fresh-grated Parmesan cheese
salt and fresh-ground black pepper
Get out your biggest, sturdiest cooking pot. I use a 4-quart with a heavy bottom. Once the grits begin to bubble, you are going to want to have plenty of room in the pot for the mixture to gurgle and bubble without it going over the sides. To the pot, add the water, milk and half and half, then bring all to a simmer over medium heat, stirring frequently. Add the grits and garlic, and stir well and often since you do not want this mix to clump or stick.
Bring the grits mixture to a slight boil, then reduce the heat.  Add salt and pepper.  Again, stir often, cooking about 15 minutes. Then add in extra water or half and half here (the mix should not be runny though) and the desired amount of butter and cheeses, letting this mixture cook for another 5 to 10 minutes: keep it creamy and loose and stir well so that the cheeses do not stick. Taste the grits then. You will want a soft texture, nothing gritty or hard.
When you have the grits like you want, add the shrimp and stir, coating the shrimp well. The hot grits and cheese will cook the shrimp and they’ll be ready in about two to three minutes, as soon as the shrimp turn a pretty pink.
Serve in large bowls alongside glasses of sweet tea.
painting shows four cups of atole with chocolate and other ingredients

Atole with Chocolate. 8″ x 8″ gouache and watercolor pencil. Sharyn Dimmick.

Because it is April 15 and I am still working on a giant art inventory for my tax returns I’m giving you a quick and easy recipe for atole with chocolate, good for those chilly mornings or chilly evenings of spring. I made it for the first time on a cold April morning of 2010 when we had had a bag of masa harina sitting around for a year or two and Jacqueline Higuera McMahan had published a recipe for atole in the San Francisco Chronicle. McMahan’s recipe called for added cornstarch, but I think the masa thickens it adequately by itself.

The first time I made this I used a Oaxaca chocolate bar containing chilies. Later I made it with Sharffen Berger bittersweet and added some pasilla chile powder. You can make it without chile if you don’t like the kick.

Atole makes a good, warming breakfast drink, a heavier form of hot chocolate. It would be good to serve at a holiday party. I’ve thought of adding more masa and thickening it into a pudding, but I haven’t tried that yet.

Atole with Chocolate (4 Servings)

Film a large saucepan with water

Heat over medium heat 1 quart of milk

Add:

5 oz. chopped chocolate

1/3 cup brown sugar

1/4 cup masa harina

1 cinnamon stick

1 vanilla bean, split open.

a pinch of salt, if desired

powdered chiles to taste

Whisk this until the chocolate melts, until everything blends and until it thickens to your liking. You will need to cook it for at least five minutes to cook the masa, which will expand as it cooks. Fish the vanilla bean and cinnamon stick out before serving, or just push them to the side with your serving ladle so that they continue to flavor whatever you don’t drink immediately.

Food Notes: Masa harina is the flour Mexicans use to make corn tortillas. Look for it in your Mexican grocer or online. If you find this too sweet, add cocoa powder to a small portion and add it back into the pan, or add some bitter chocolate or some brewed coffee. Next time use a darker chocolate or scant the sugar to achieve less sweet results. I’ve been thinking about using a tablet of Mexican chocolate to make it next time with some bitter chocolate added. For the ultimate in decadence, serve it with a float of barely sweetened whipped cream. Drink this for breakfast and you may even have the strength to complete your tax returns on time. Good luck! We have two extra days this year.